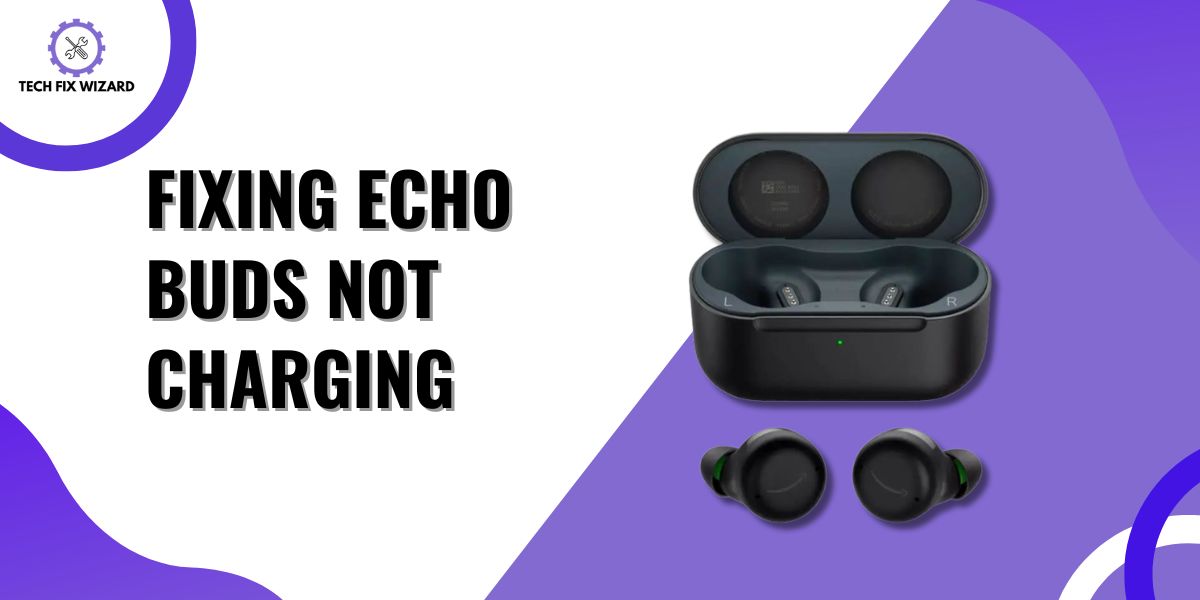
Facing an ‘Amazon Echo Buds Not Charging’ issue can be a perplexing situation for any user.
These wireless earbuds are designed to seamlessly integrate into your daily routine, offering excellent sound quality and convenience.
However, when they refuse to charge, it can disrupt your listening experience and leave you searching for solutions.
In this guide, we will help you resolve this frustrating issue by providing you with practical steps to troubleshoot.
Contents
- 1 10 Steps to Troubleshoot the Amazon Echo Buds Not Charging Issue
- 2 1. Check the Charging Cable
- 3 2. Change the Power Source
- 4 3. Clean Your Charging Port
- 5 4. Examine Charging Pins
- 6 5. Properly Align the Sensors
- 7 6. Ensure the Wing Tip is Installed Properly
- 8 7. Cool Down Your Echo Buds
- 9 8. Update Firmware
- 10 9. Perform Factory Reset
- 11 10. Replace the Case
- 12 FAQs
- 13 1. How do you fix Echo Buds not charging?
- 14 2. How do I know if my Echo Earbuds are charging?
- 15 3. Why are my Echo Buds not working?
- 16 4. Why are my Echo Buds flashing red when charging?
- 17 5. How do you fix flashing red Echo Buds?
- 18 6. Why is my Echo Button flashing red?
- 19 7. How long do Echo Earbuds take to charge?
- 20 8. Why does my Echo Buds case not charge?
- 21 9. How to charge Echo Buds case?
- 22 10. How to factory reset Echo Buds?
10 Steps to Troubleshoot the Amazon Echo Buds Not Charging Issue
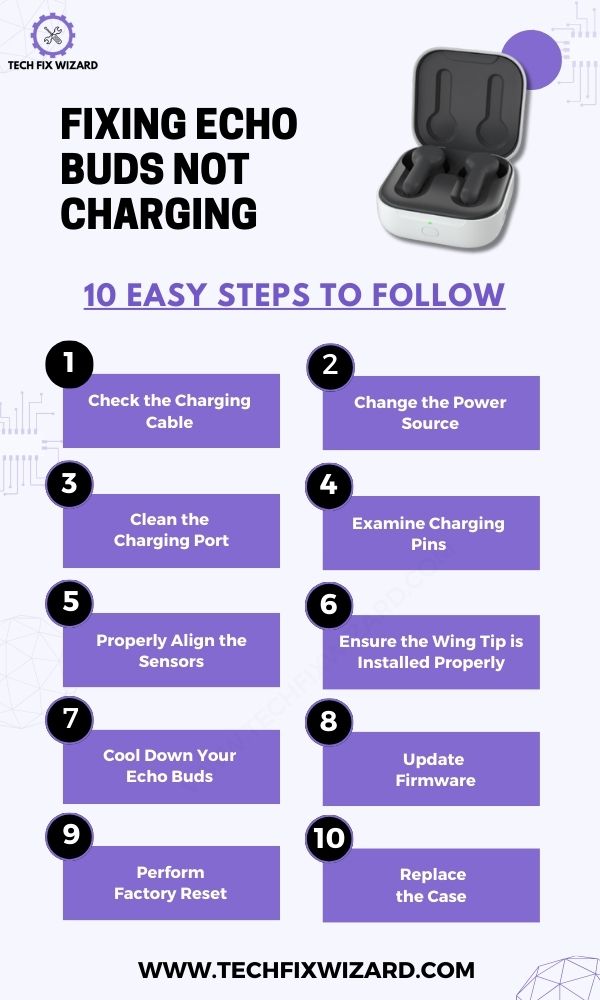
Below, you’ll find troubleshooting steps to resolve the “Echo Buds Not Charging” problem. Let’s begin and work towards getting your Echo Buds fully charged and working again.

1. Check the Charging Cable
Start your troubleshooting by examining the charging cable thoroughly. Inspect it for any visible damage, such as fraying or exposed wires.
These issues can disrupt the flow of power from the source to your earbuds. If you notice any damage, it’s crucial to replace the cable as using a damaged one can lead to further problems.
Also, check for dirt or debris on the cable connectors and clean them gently using a microfiber cloth.
2. Change the Power Source
If the charging cable is in good shape but your earbuds are still not charging, the next step is to change the power source.
Often, the issue may be with the USB port, wall adapter, or electrical outlet we are using.
Try different USB ports on your computer or use an alternative wall adapter and electrical outlet to eliminate any power source-related problems.
Sometimes, a particular port or adapter may not provide the necessary power or have a malfunction that prevents proper charging.
Consider Reading:
- How To Fix Oppo Enco W11 Not Charging – 7 Quick Troubleshooting Steps
- Jlab Earbuds Not Charging – Try These 7 Steps
3. Clean Your Charging Port
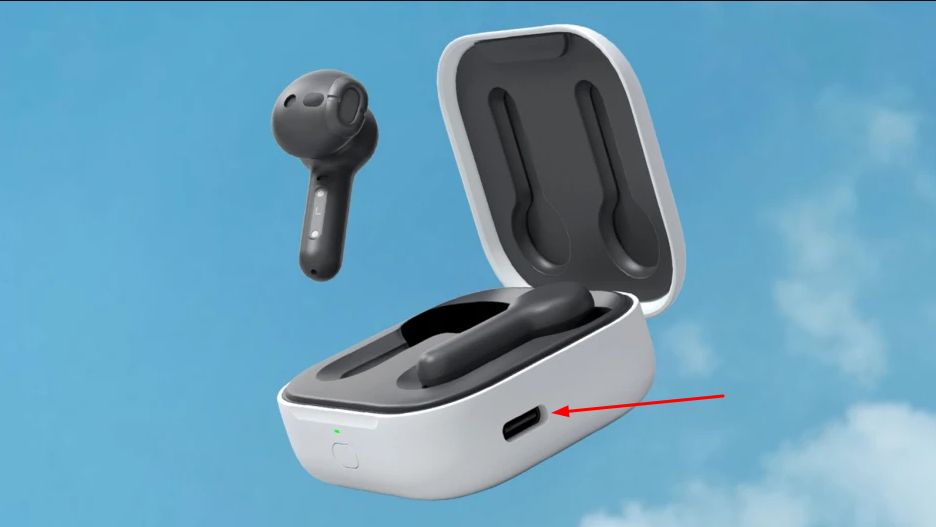
If even changing the power source doesn’t resolve the problem, it’s time to focus on the charging port.
Over time, dust and debris can accumulate in both the earbuds’ charging port and the charging case’s port, disrupting the connection.
To address this, carefully clean the ports using a small, soft brush or compressed air. This helps ensure that the charging pins on the earbuds make a secure connection with the pins in the case.
A clean and debris-free charging port is crucial for successful charging.
4. Examine Charging Pins
Moving forward in your troubleshooting process, it’s essential to inspect the charging pins on both your earbuds and the charging case.
Carefully examine these pins to ensure they are not bent, corroded, or obstructed by any foreign material like dirt or residue.
Misaligned or damaged pins can significantly disrupt the charging process, preventing your earbuds from charging correctly.
If you find any issues with the pins, gently straighten bent pins, clean corroded ones, and remove any obstructions to ensure a secure connection between the earbuds and the case, progressing towards a more technical aspect of the problem.
5. Properly Align the Sensors
Next, it’s crucial to ensure that the sensors on both your earbuds and the charging case are correctly aligned when you place the earbuds inside.
These sensors play a pivotal role in detecting when the earbuds are in the case, which, in turn, activates the charging process.
Misalignment can lead to a failure in this detection, preventing charging from occurring.
Also, Read: Jabra Elite 75t Case Not Charging – [RESOLVED] 6 Steps To Try
6. Ensure the Wing Tip is Installed Properly
If your earbuds have wingtips, it’s essential to check that they are correctly installed and not obstructing any sensors or charging pins.
Incorrectly installed wingtips can interfere with the earbuds’ ability to sit correctly in the case or make proper connections.
Moreover, ensure that the case securely closes with the earbuds inside. An improperly closed case can prevent the charging process as well.
This step emphasizes the importance of attention to detail in ensuring all components work seamlessly together, as the progression continues to pinpoint potential issues that affect charging performance.
7. Cool Down Your Echo Buds
If your earbuds have been in use for an extended period or have become noticeably warm, overheating can be a potential factor contributing to charging problems.
To address this issue, allow your earbuds to cool down before attempting to charge them again.
Overheating can affect the battery’s ability to charge efficiently, and giving it some time to cool off can help restore normal charging functionality.
This step prioritizes the well-being of your earbuds by considering their temperature as a possible impediment to charging, marking a shift from physical and structural troubleshooting to environmental factors.
8. Update Firmware
It’s quite important to keep your earbuds up-to-date to ensure they perform at their best, including when it comes to charging efficiency.
To make sure your earbuds have the latest firmware, you can follow these steps below:
First, you will be required to have an Alexa App to perform this updation on your smartphone so, get it through Google Play Store or Apple Store.
Next:
- Open the Alexa app on your smartphone.
- Tap on the Devices tab.
- Tap on the Echo Buds device.
- Tap on the Settings gear icon.
- Scroll down and tap on the Firmware version.
- If there is a firmware update available, you will see a button that says Update.
- Tap on the Update button to start the firmware update process.
Also, Read:
- TOZO T10 Case Not Charging – Try These 6 Effective Steps To Fix
- Jabra Elite 75t Not Charging – Follow These Effective Fixes
9. Perform Factory Reset
Now performing a factory reset is the logical step if updating the firmware doesn’t work for you. It’s a critical procedure that can help resolve various issues, particularly those related to charging problems.
When you initiate a factory reset, you essentially wipe your device clean of any lingering software glitches or misconfigurations, giving it a fresh start.
Follow the steps below to do so:
- Place both earbuds in the charging case and close the lid.
- Wait for the case lights to turn off (indicating it’s powered off).
- Locate the single button on the back of the case.
- Press and hold that button with the lid closed.
- Keep holding until the LED indicator turns blinking orange or amber.
- Release the button when you see the blinking light.
- Wait for the LED indicator to turn off, indicating the factory reset is complete.
10. Replace the Case
If none of the preceding steps resolve the charging issue and your earbuds still won’t charge, it may be necessary to consider replacing the charging case.
This step is a last resort, as it suggests that there may be a malfunction within the case that cannot be easily repaired.
Replacing the case ensures that you have a functional and reliable charging solution for your earbuds.
Read Blog Posts:
- Haylou GT1 Pro Not Charging – 11 Easy Steps To Restore Charging
- EarFun Earbuds Not Charging – 9 Troubleshooting Steps To Fix
- Yobola T2 Pro Not Charging – Try These 9 Easy Solutions [FIXED]
FAQs
1. How do you fix Echo Buds not charging?
If your Echo Buds are not charging, start by checking the charging cable and power source. Ensure the charging pins on both the Buds and the case are clean and free from debris.
Try using a different cable and charging adapter to rule out any issues with your current setup. If the problem persists, contact Amazon customer support or refer to your device’s manual for further troubleshooting steps.
2. How do I know if my Echo Earbuds are charging?
To check if your Echo Earbuds are charging, simply place them in their charging case and make sure the case is connected to a power source. You should see a small LED indicator light on the case that will turn on when the Earbuds are charging.
The LED will usually be amber or another color to indicate charging and turn green or a different color when fully charged.
3. Why are my Echo Buds not working?
If your Echo Buds are not working, start by ensuring they are properly charged. If they are charged and still not working, try resetting them by following the instructions in your device manual.
Check if there are any software updates available for your Echo Buds through the companion app, and make sure your Bluetooth connection is stable. If issues persist, contact Amazon customer support for further assistance.
4. Why are my Echo Buds flashing red when charging?
Echo Buds flashing red during charging can indicate a problem with the charging process. This may be due to a faulty cable, an issue with the charging case, or a problem with the Buds themselves.
To troubleshoot, try using a different charging cable and adapter, clean the charging pins on both the Buds and case, and ensure the case is properly closed. If the issue persists, consider contacting Amazon support.
5. How do you fix flashing red Echo Buds?
To fix Echo Buds flashing red, start by ensuring they are properly seated in the charging case. Make sure the case is fully charged and that there are no obstructions blocking the charging pins on both the Buds and the case.
If the issue continues, consult the user manual for specific troubleshooting steps or reach out to Amazon customer support for assistance.
6. Why is my Echo Button flashing red?
If your Echo Button is flashing red, it typically indicates a low battery. Connect the Echo Button to a charging source using the provided cable and adapter. Allow it to charge for a while, and the flashing red light should turn off once the battery is adequately charged.
7. How long do Echo Earbuds take to charge?
The charging time for Echo Earbuds can vary depending on the model and the level of charge remaining in the case. Generally, it takes approximately 2-3 hours to fully charge the Echo Earbuds in their charging case when starting from a depleted battery.
8. Why does my Echo Buds case not charge?
If your Echo Buds case is not charging, first ensure that it is connected to a working power source. Check the condition of the charging cable and the cleanliness of the charging pins on the case.
If the issue persists, it may be a hardware problem, and you should contact Amazon customer support for further assistance or a possible replacement.
9. How to charge Echo Buds case?
Charging the Echo Buds case is simple. Connect the provided charging cable to the case and plug the other end into a working USB port or charger.
Ensure the case is securely closed with the Echo Buds inside. The LED indicator on the case should illuminate to show that it’s charging.
10. How to factory reset Echo Buds?
To factory reset Echo Buds, first place them in the charging case and close the lid. Hold the button on the back of the case for about 15 seconds until the LED indicator on the front of the case starts flashing orange.
This indicates that the Earbuds have been reset. You can then pair them with your device again as if they were new.

John Paul is a tech enthusiast dedicated to troubleshooting. He is passionate about fixing glitches, simplifying complexities, and empowering others in the digital realm.


