
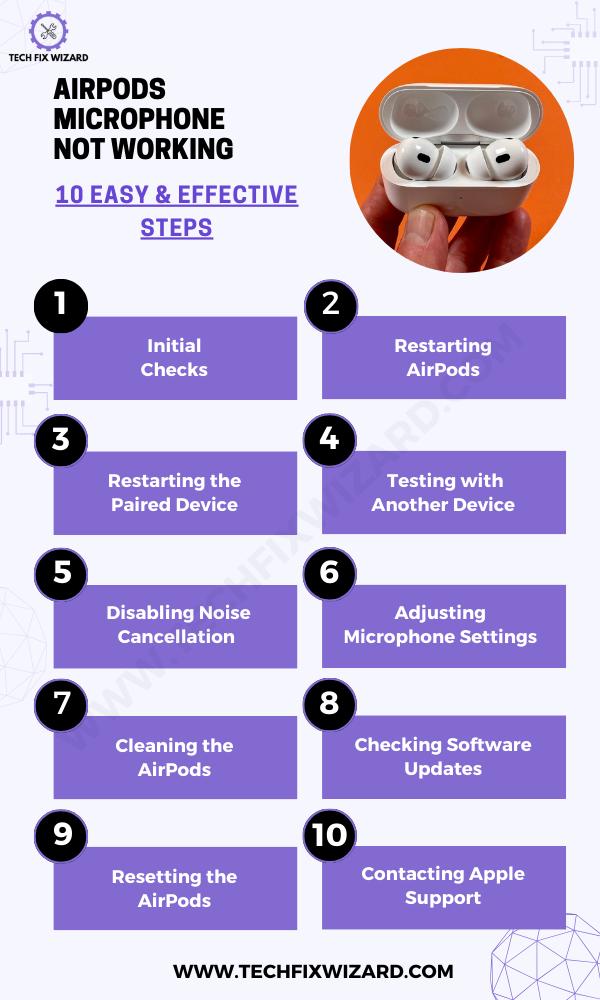
Is your AirPods microphone not working? It can be frustrating when you’re unable to make calls or use voice commands with your wireless earbuds.
But don’t worry, there are several troubleshooting steps you can take to resolve the issue.
In this article, we will guide you through a series of solutions to get your AirPods microphone back up and running.
Contents
- 1 Fixing Airpods Microphone Not Working Issue
- 2 1. Initial Checks
- 3 2. Restarting the AirPods
- 4 3. Restarting the Paired Device
- 5 4. Testing with Another Device
- 6 5. Disabling Noise Cancellation
- 7 6. Adjusting Microphone Settings
- 8 7. Cleaning the AirPods
- 9 8. Checking Software Updates
- 10 9. Resetting the AirPods
- 11 10. Contacting Apple Support
- 12 Tips for Preventing Future AirPods-Related Issues
- 13 FAQs
- 14 1. Why is my AirPod microphone not working?
- 15 2. How can I troubleshoot the AirPod microphone issue?
- 16 3. Can a firmware update fix the microphone problem?
- 17 4. Is it possible to reset the AirPods to fix the microphone issue?
- 18 5. Are there any compatibility issues causing the microphone problem?
- 19 6. Could the microphone problem be due to a physical defect?
- 20 7. How can I clean the AirPods’ microphone to improve its performance?
- 21 8. Can a third-party app cause a microphone problem?
- 22 9. Can a software glitch cause the AirPods’ microphone to stop working?
- 23 10. Is it possible to use only one AirPods microphone at a time?
Fixing Airpods Microphone Not Working Issue
Try the 10 troubleshooting steps listed below to fix the AirPods not charging issue and get your AirPods working again.
1. Initial Checks
Before diving into specific troubleshooting steps, it’s crucial to conduct some initial checks to identify any simple issues that might be causing the microphone problem with your AirPods.
Remember, performing these initial checks can save time and help you focus on the specific troubleshooting steps required to fix the microphone issue with your AirPods.
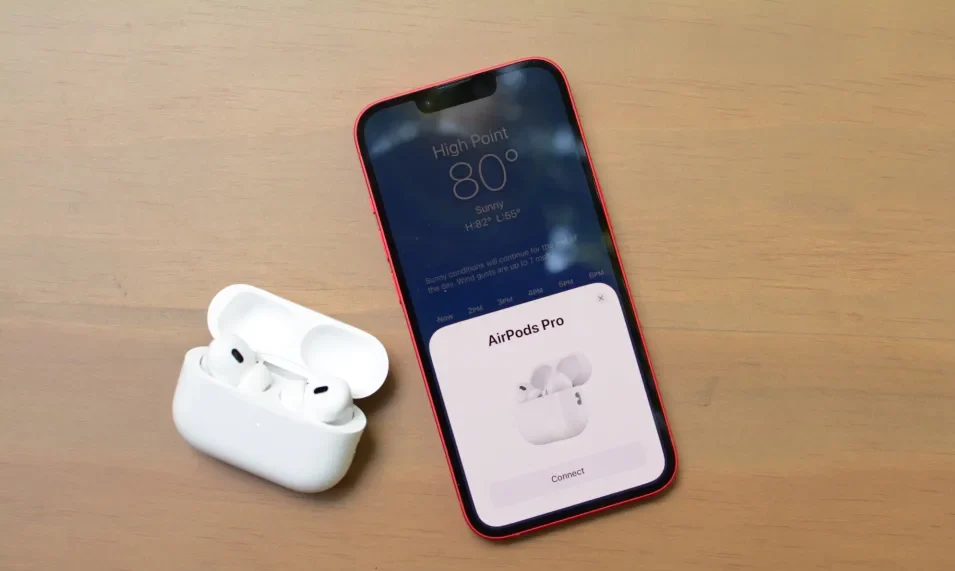
1: Ensure AirPods Are Properly Connected and Paired to the Device
To ensure the AirPods connectivity and Pairing follow the steps given below:
- Open the Bluetooth settings on your device (e.g., smartphone, tablet, computer).
- Check if your AirPods are listed under the paired devices. If not, proceed to pair them.
- If your AirPods are already paired, tap on them to connect if they are not currently connected.
2: Verify That the Microphone Issue Is Not Specific to an App
To verify that the issue isn’t an app or any platform-specific you can follow the steps below
- Make a test call using a different app or communication platform (e.g., WhatsApp, Zoom, Skype).
- If the microphone works fine during the test call, the issue might be specific to the app you were originally using.
- Check the app’s microphone settings and permissions.
3: Check if the AirPods Are Sufficiently Charged.
It is very important to verify whether the AirPods are sufficiently charged or not because the problem with your AirPods can solely stem from it.
- Place both AirPods back into the charging case.
- Check the LED indicator on the front of the charging case. If it shows green, the AirPods have sufficient charge.
- If the LED indicator shows amber, it means the AirPods need to be charged.
- Connect the charging case to a power source using the Lightning cable and allow them to charge fully.
Also Read: Troubleshooting AirPods Double Tap Not Working – 7 Quick Fixes
2. Restarting the AirPods
Restarting the AirPods is often the first step in resolving any minor connectivity or functionality issues.
To restart the AirPods, follow these steps:
-
- Place both AirPods back into the charging case.
- Close the lid of the charging case and wait for about 15-20 seconds.
- Open the lid of the charging case, and the AirPods should automatically reconnect to the paired device.
3. Restarting the Paired Device
Sometimes, the problem might be with the device the AirPods are connected to. Restarting your smartphone, tablet, or computer can help clear any temporary glitches affecting the connection.
To restart the device:
-
- Power off the device completely.
- Wait for a few seconds, and then power it back on.
- After the device restarts, pair the AirPods again and test the microphone.

4. Testing with Another Device
Testing the AirPods on a different compatible device can help determine if the problem is isolated to the original device or the AirPods themselves.
To test with another device:
-
- Pair the AirPods with a different compatible device, like a friend’s smartphone or another computer.
- Make a test call or use a voice recording app to check if the microphone works properly on the new device.
You Might Also Like: Airpods Not Holding A Charge For Long – How To Solve It
5. Disabling Noise Cancellation
Noise cancellation can sometimes interfere with the microphone’s ability to pick up your voice clearly, leading to microphone problems. Here’s how you can do it:
1: Disabling Noise Cancellation on AirPods Pro
If you have AirPods Pro, follow these steps to turn off noise cancellation:
- Open the Settings app on your iPhone or iPad.
- Go to Bluetooth and find your AirPods Pro in the list of connected devices.
- Tap the (i) icon next to your AirPods Pro.
- Under “Noise Control,” select:
- “Off” to completely disable noise cancellation.
- “Transparency” mode to reduce noise cancellation while still allowing ambient sounds to be heard.
After disabling noise cancellation, check if the microphone issue is resolved.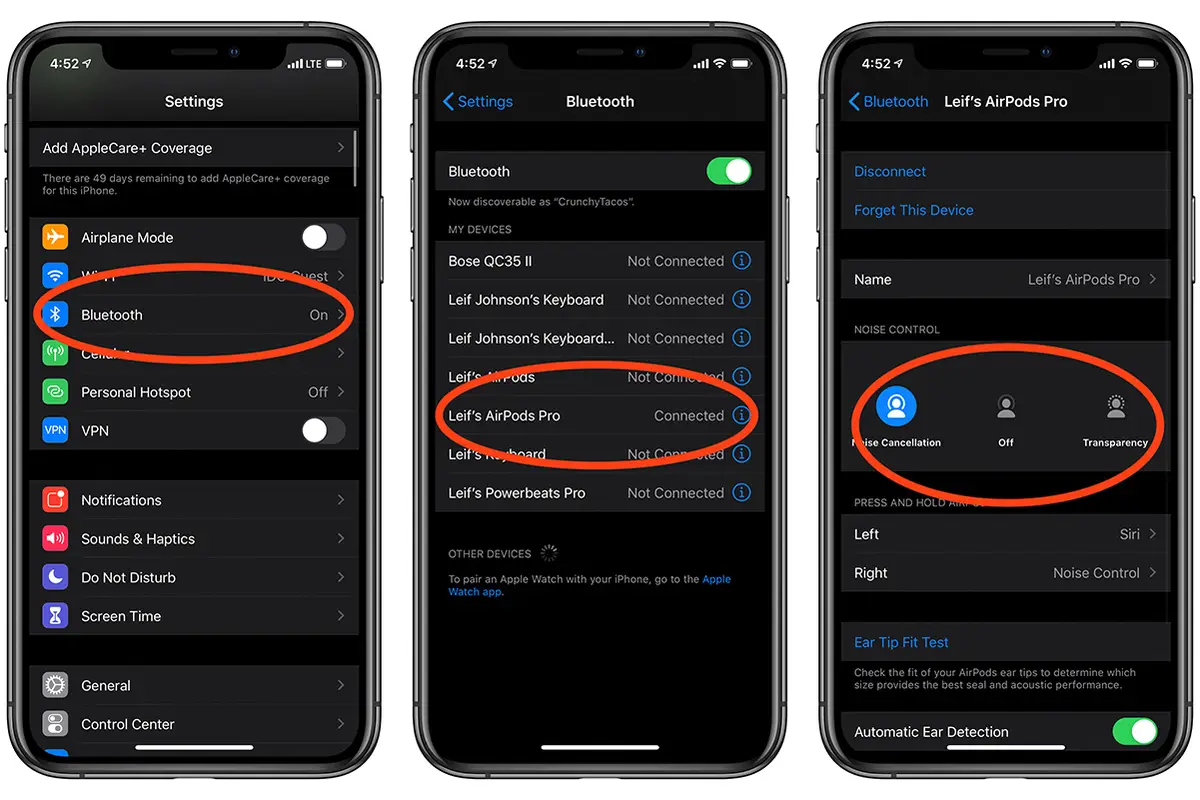 Source
2: Disabling Noise Reduction on Regular AirPods
If you have regular AirPods (not AirPods Pro), you can try disabling noise reduction to see if it improves the microphone performance:
- Open the Settings app on your iPhone or iPad.
- Go to Accessibility.
- Scroll down and tap on “Audio/Visual.”
- Under “Audio/Visual,” turn off “Phone Noise Cancellation.”
After turning off noise reduction, test the microphone to see if the problem persists.
6. Adjusting Microphone Settings
Next, check the microphone settings on the paired device. Misconfigured settings can lead to microphone-related issues.
1: On iPhone/iPad
To check and adjust the microphone settings on an iPhone or iPad:
-
- Go to Settings > Bluetooth.
- Find your AirPods in the list of paired devices and tap the (i) icon next to them.
- Ensure that the Microphone setting is set to “Automatic” or select “Always Left AirPod” / “Always Right AirPod” depending on your preference.
2: On Mac
To check and adjust the microphone settings on a Mac:
-
- Click the Apple menu and go to System Preferences > Bluetooth.
- Find your AirPods in the list of paired devices and click the “Options” button.
- Ensure that both the “Use as Audio Device” and “Input Device” options are checked.
Also Read: One AirPod Not Charging – Try These 9 Solutions
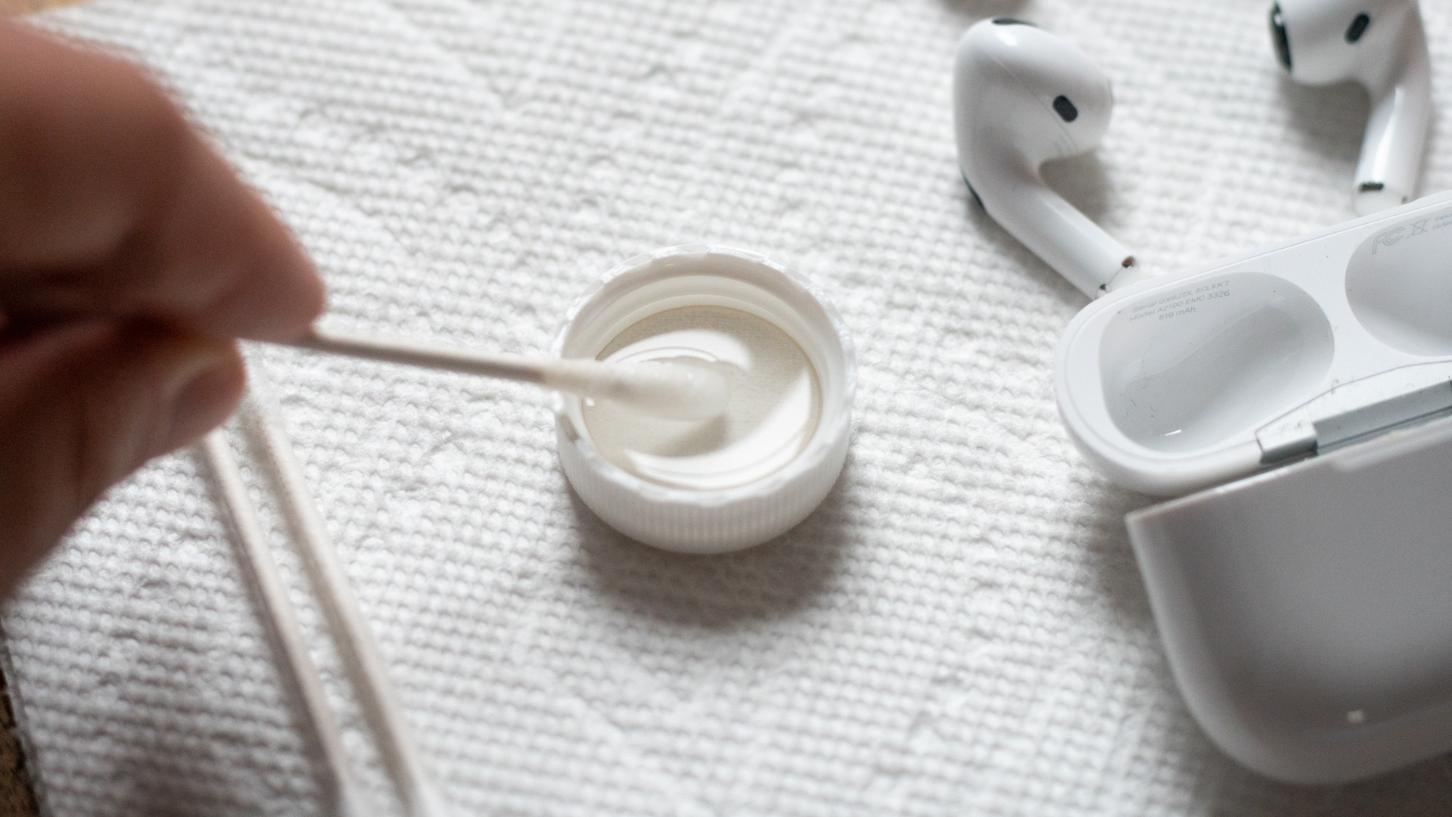
7. Cleaning the AirPods
Dirt, debris, or ear wax accumulation in the microphone openings can also hinder microphone performance. Cleaning the AirPods can sometimes resolve the issue.
To clean the AirPods:
-
- Use a soft, lint-free cloth to gently wipe the exterior surfaces of the AirPods.
- Pay special attention to the microphone openings and remove any visible dirt or debris.
- Avoid using liquids or abrasive materials, as they may damage the AirPods.
8. Checking Software Updates
Keeping both the AirPods and the paired device updated is crucial for optimal performance.
To check for and install firmware updates on the AirPods:
-
- Ensure the AirPods are connected to the paired device.
- Go to the Bluetooth settings and find your AirPods in the list of paired devices.
- If an update is available, follow the on-screen instructions to install it.
Checking Device Software Updates
To check for and install software updates on the paired device:
-
- On iPhone/iPad: Go to Settings > General > Software Update.
- On Mac: Click the Apple menu and go to System Preferences > Software Update.
9. Resetting the AirPods
If the issue persists, consider resetting the AirPods to their factory settings. This can resolve any software-related problems.
To reset the AirPods:
-
- Put the AirPods in the charging case and keep the lid open.
- Press and hold the setup button (on the back of the case) for 15-20 seconds until the status light flashes amber.
- Close the lid and wait.
- Repair the AirPods with the original device and check the microphone.
10. Contacting Apple Support
If none of the previous steps resolves the issue, it’s time to reach out to Apple Support for further assistance.
Explain the issue you are experiencing, the steps you’ve already taken, and any error messages you might have encountered during the troubleshooting process.
Apple Support will provide further guidance and may suggest additional troubleshooting steps or offer a replacement if necessary.
Quick Reads:
- AirPods Max Not Charging – Get Them Fixed In 8 Simple Steps
- Left AirPod Not Charging – 8 Steps On How To Fix It
Tips for Preventing Future AirPods-Related Issues
- Regular Cleaning: Clean your AirPods and charging case with a soft, lint-free cloth to remove dirt and debris.
- Proper Storage: Store your AirPods in their charging case when not in use to protect and charge them efficiently.
- Avoid Moisture: Keep your AirPods away from water and excessive moisture to prevent damage.
- Software Updates: Keep both AirPods and paired devices up-to-date with the latest software and firmware.
- Regular Charging: Charge your AirPods regularly to maintain battery health and ensure sufficient power.
- Temperature Awareness: Avoid exposing AirPods to extreme temperatures.
- Certified Accessories: Use only certified and compatible accessories with your AirPods.
FAQs
1. Why is my AirPod microphone not working?
The issue with your AirPod microphone not working can be due to various reasons, such as a software glitch, a hardware problem, or a configuration issue.
2. How can I troubleshoot the AirPod microphone issue?
Start by checking if the microphone is clogged with dirt or debris. Also, ensure the AirPods are fully charged and that there are no software updates pending. Additionally, try connecting the AirPods to a different device to see if the problem persists.
3. Can a firmware update fix the microphone problem?
Sometimes, firmware updates can address known issues, including microphone problems. Check for any available firmware updates through your device’s settings or the Apple Support website.
4. Is it possible to reset the AirPods to fix the microphone issue?
Yes, performing a reset on your AirPods can often resolve various problems, including microphone issues.
To reset, place both AirPods in the charging case, hold the setup button on the back of the case for about 15 seconds until the status light flashes amber, and then reconnect them to your device.
5. Are there any compatibility issues causing the microphone problem?
Ensure that your AirPods are compatible with the device you are using. Also, check if your device’s operating system is up to date, as outdated software may cause compatibility problems.
6. Could the microphone problem be due to a physical defect?
Yes, a physical defect in the AirPods or the charging case could be the cause of the microphone issue.
Check for any visible damage or wear and tear on the AirPods and the charging case.
7. How can I clean the AirPods’ microphone to improve its performance?
Gently use a soft, dry, lint-free cloth to clean the exterior of the AirPods and the microphone area. Avoid using any liquids or cleaning agents that could damage the device.
8. Can a third-party app cause a microphone problem?
Sometimes, third-party apps or settings can interfere with the microphone functionality. Test the AirPods with the default or built-in apps to see if the issue is app-related.
9. Can a software glitch cause the AirPods’ microphone to stop working?
Yes, software glitches can impact microphone functionality. Restart your device and try connecting the AirPods again to see if the issue is resolved.
10. Is it possible to use only one AirPods microphone at a time?
Yes, you can use one AirPod at a time, and the active microphone will switch automatically between them as needed.

John Paul is a tech enthusiast dedicated to troubleshooting. He is passionate about fixing glitches, simplifying complexities, and empowering others in the digital realm.