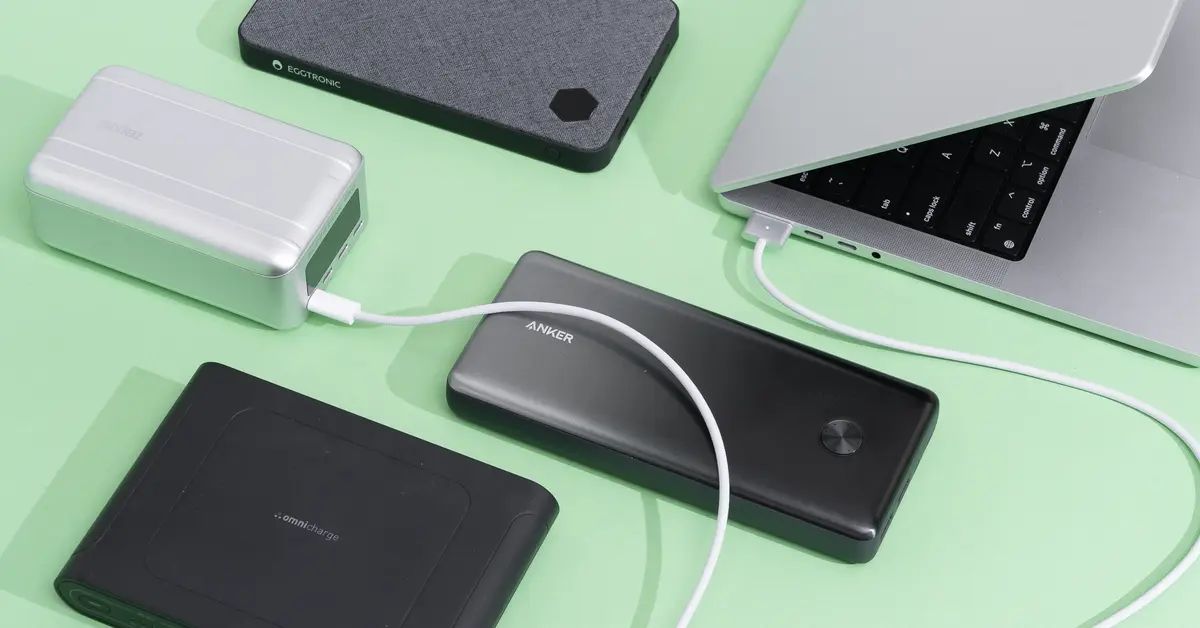
In our modern world, power banks have become essential tools for keeping our smartphones, tablets, and other gadgets charged and ready to use.
However, it can be incredibly frustrating when your trusty power bank refuses to charge.
To resolve this issue for power bank users, we have assembled a list of various troubleshooting steps and checks to help you figure out and thus fix the power bank not charging itself or connected devices.
Let’s get into it!
Contents
- 1 Fixing Power Bank Not Charging Issue
- 2 1. Verify the Power Source
- 3 2. Inspect Power Bank Connections
- 4 3. Check the Charging Ports
- 5 4. Ensure the Power Bank Has a Charge
- 6 5. Interpret Indicator Lights
- 7 6. Observe Indicator Behavior
- 8 7. Check Device Compatibility
- 9 8. Use the Right Cable
- 10 9. Power Bank Protection Features
- 11 10. Calibrating Additional Settings
- 12 11. Resetting the Power Bank
- 13 12. Updating the Firmware
- 14 13. Access the Battery Health
- 15 FAQs
- 16 How do I reset my power bank?
- 17 How do you charge a dead power bank?
- 18 Why does my power bank stop charging after a few seconds?
- 19 What is the common problem of a power bank?
- 20 How do I know if my power bank is damaged?
- 21 Can a power bank be repaired?
- 22 Why is my power bank not charging my phone fast?
Fixing Power Bank Not Charging Issue
Fixing a power bank not charging issue can be straightforward, but it depends on whether the problem lies with the power bank not charging itself or not charging connected devices.
The steps provided here are designed to address both scenarios. Some steps are problem-specific, while others are common to both issues.
You’ll get a better idea after diving into the resolution steps. Let’s get started.
1. Verify the Power Source
To start with the troubleshooting process the first thing to do is to check the power source. This means making sure the electrical outlet, USB port, or charger you’re using is functioning correctly.
To do this, plug in another device, like a smartphone or tablet, into the same outlet, USB port, or charger that you’re using for the power bank.
If this device charges as expected, it’s a good indication that the power source is working properly.
However, if the second device doesn’t charge either, it suggests that the issue may lie with the power source itself.
If you’re still unsure about the power source, try to rule out external issues, or use a multimeter to verify its functionality.
Sometimes, a faulty outlet or a damaged charger can cause charging problems.

2. Inspect Power Bank Connections
Once you’ve confirmed that the power source is not the issue, it’s time to look at the connections between your power bank and the charging cable.
Begin by examining the USB cable you’re using. Check for any visible damage, such as frayed wires or bent connectors.
Damaged cables can disrupt the charging process and prevent the power bank from receiving power.
If the power bank isn’t charging the connected device then at this stage also ensure that the cable is properly plugged into the power bank and the devices that are intended to be charged.
3. Check the Charging Ports
Next, inspect the charging ports on both the power bank and the device you’re trying to charge.
Over time, dust, lint, or other debris can accumulate in these ports, hindering a proper connection.
Use a flashlight to check for any obstructions and gently clean them if necessary. Be careful not to damage the ports during this process.
Also Read: Anker Power Bank Not Charging Itself Nor Your Device
4. Ensure the Power Bank Has a Charge
Now, let’s focus on the power bank itself. To determine if it has any remaining charge, locate the power button (if your power bank has one) or check the LED indicator lights.
If the power bank is completely discharged, it may not show any signs of life immediately. In such cases, connect it to a power source and let it charge for a while.
This step is crucial because a power bank with a completely drained battery may not respond to charging attempts until it has accumulated a minimal charge.
Sometimes, it’s simply a matter of giving it some time to reach a charge level where it can display signs of activity.
5. Interpret Indicator Lights
Many power banks come equipped with LED indicator lights or displays that provide information about the battery’s status and charging progress.
To effectively troubleshoot, it’s important to understand what these lights mean.
Refer to the user manual that came with your power bank to learn how to interpret the different LED patterns, colors, or display messages.
Each light or pattern may indicate a specific battery status or charging mode.
6. Observe Indicator Behavior
Now that you know how to interpret the indicator lights, keep a close eye on them as you attempt to charge the power bank. Look for any unusual patterns or changes in LED behavior.
If you notice blinking patterns, color changes, or other deviations from the norm, this information can provide valuable insights into what might be causing the charging problem.
For example, certain LED behaviors may suggest issues like overcharging protection activating, the power bank overheating, or the battery being critically low.
Observing the behavior of the indicator lights can help pinpoint the root cause of the problem and guide your troubleshooting efforts.
7. Check Device Compatibility
Moving to device compatibility, it’s important to ensure that the power bank is compatible with your device’s charging requirements.
Verify that the power bank provides the correct voltage and amperage that your device needs to charge effectively.
In some cases, devices may require higher amperage or voltage than the power bank can provide. Ensuring compatibility between your power bank and your device is essential to resolve charging issues.
8. Use the Right Cable
Additionally, confirm that you are using the correct USB cable for your specific device. Different devices may require specific cables, and using the wrong one can result in charging problems.
These steps will help ensure that you have the correct power bank and cable setup for your device, optimizing the chances of successful charging.
Also Read: Powerbeats Pro Case Not Charging – 16 Solutions To The Rescue
9. Power Bank Protection Features
Next, consider the protective features built into your power bank. Begin by checking if the power bank includes overcharging protection.
Consult the user manual or manufacturer’s information to determine if your power bank has this feature.
Overcharging protection can temporarily halt charging to prevent damage when the battery reaches full capacity.
Similarly, verify if the power bank has temperature protection. Ensure that your power bank is designed to operate within specific temperature ranges, as extreme temperatures can inhibit the charging process.
This protection is essential for both safe charging and the long-term health of the power bank.
10. Calibrating Additional Settings
In addition to the above built-in features, inspect your device’s settings. Ensure that your device is configured to allow charging from external power sources.
Disable any battery-saving modes that might interfere with charging.
By reviewing and adjusting these settings, you can eliminate potential software-related barriers to charging.
11. Resetting the Power Bank
If your power bank is equipped with a reset function, which is designed to troubleshoot minor issues or glitches, it’s advisable to consult the manufacturer’s instructions for the specific reset procedure.
The reset process can vary from one power bank model to another, so it’s essential to follow the manufacturer’s guidelines precisely.
Resetting your power bank can often resolve common issues that may be hindering the charging process.
12. Updating the Firmware
Now, let’s address potential firmware or software-related problems. Check if the manufacturer offers firmware updates for your power bank.
This can usually be done by visiting the manufacturer’s website or contacting their support. Firmware updates can address software bugs or compatibility issues that may be causing the charging problem.
13. Access the Battery Health
Assessing the health of your power bank’s battery is another critical step. Consider the age of the power bank and be aware that older power banks may have batteries that have degraded over time.
Reduced battery capacity can lead to charging problems.
To perform a more detailed assessment, you can use specialized equipment or software to measure the power bank’s actual capacity.
This capacity should be compared to the manufacturer’s specifications to determine if the power bank still meets its original capacity rating.
Alternatively, consider visiting a professional technician, especially if your power bank is out of warranty or the issue persists. A technician can diagnose and potentially repair the power bank, ensuring its proper functionality.
Hot Picks:
- Oculus Casting Not Working – 12 Steps To Get It Working Again
- Samsung Smart TV HDMI ARC Not Working – 12 Solutions To Try
FAQs
How do I reset my power bank?
To reset your power bank, refer to the manufacturer’s instructions provided in the user manual or on their website.
The reset process can vary depending on the model and brand. Typically, it involves pressing a specific combination of buttons or holding down the power button for a specified duration. Follow the manufacturer’s guidelines precisely to perform a successful reset.
How do you charge a dead power bank?
If your power bank is completely dead, connect it to a power source using a compatible charging cable. Allow it to charge for several hours, even if it doesn’t show immediate signs of life.
Some power banks require a minimum charge before they become operational again. Check the indicator lights or LED display to monitor its progress.
Why does my power bank stop charging after a few seconds?
The power bank may stop charging due to several reasons. It could be due to a faulty cable, overheating, or protection mechanisms built into the power bank.
Ensure you’re using a quality cable and charge it in a cool, well-ventilated area. If the problem persists, consult the manufacturer’s documentation for troubleshooting steps.
What is the common problem of a power bank?
Common power bank issues include slow charging, reduced battery capacity over time, compatibility issues with certain devices, and occasional firmware or software glitches.
These issues can often be resolved through proper maintenance, firmware updates, and the use of high-quality cables.
How do I know if my power bank is damaged?
Signs of a damaged power bank include swollen or bloated casing, extreme heat during charging, inconsistent charging behavior, or a sudden drop in capacity.
If you notice any of these signs, it’s advisable to discontinue use, as a damaged power bank can pose safety risks. Consider seeking professional repair or replacement.
Can a power bank be repaired?
In some cases, a power bank can be repaired, but it depends on the extent of the damage and the availability of replacement parts. Common issues like faulty charging ports or damaged cables can often be fixed by a technician.
However, more severe internal battery or circuitry problems may be challenging or costly to repair, and in such cases, it may be more practical to replace the power bank.
Why is my power bank not charging my phone fast?
Several factors can affect the charging speed of your power bank, including the power bank’s output capacity, the cable quality, and your device’s charging specifications.
To charge your phone faster, ensure you’re using a high-quality cable, and choose a power bank with higher output capacity (measured in amperes) that matches your device’s requirements. Also, check if your device supports fast charging, as not all phones do.

John Paul is a tech enthusiast dedicated to troubleshooting. He is passionate about fixing glitches, simplifying complexities, and empowering others in the digital realm.

