Having your Powerbeats Pro case fail to charge can be a frustrating experience, especially when you’re relying on it to power your earbuds.
When faced with this issue, it’s essential to troubleshoot the problem systematically to identify the root cause and find an effective solution.
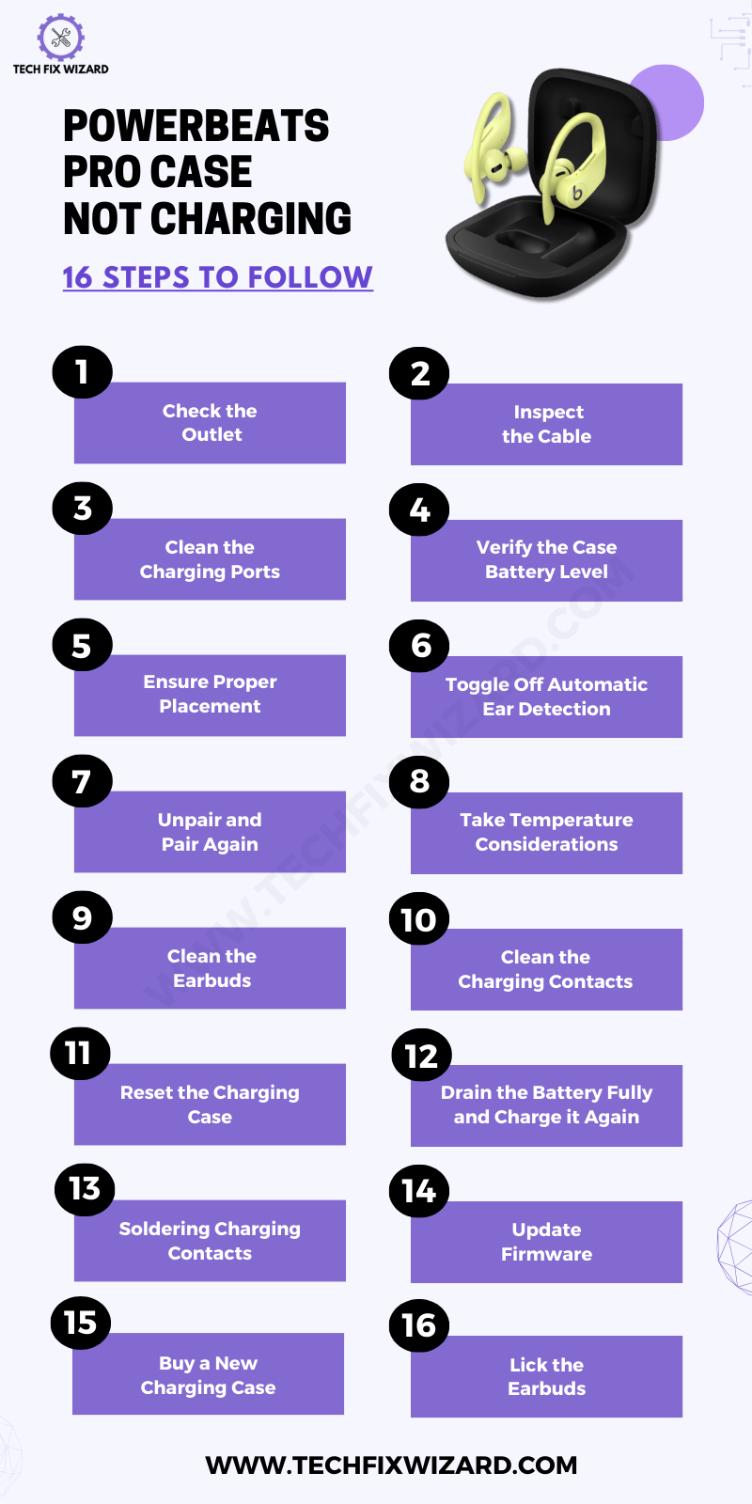
In this guide, we’ll delve into common reasons why your Powerbeats Pro case may not be charging and provide step-by-step instructions to help you resolve the issue and get your earbuds back to full power.
Contents
- 1 Troubleshooting Powerbeats Pro Case Not Charging
- 2 1. Check the Outlet
- 3 2. Inspect the Cable
- 4 3. Clean the Charging Ports
- 5 4. Verify the Case Battery Level
- 6 5. Ensure Proper Placement
- 7 6. Toggle Off Automatic Ear Detection
- 8 7. Unpair and Pair Again
- 9 8. Take Temperature Considerations
- 10 9. Clean the Earbuds
- 11 10. Clean the Charging Contacts
- 12 11. Reset the Powerbeats Pro Case
- 13 12. Drain the Battery Fully and Charge it Again
- 14 13. Trying Soldering Charging Contacts
- 15 14. Update Firmware
- 16 15. Buy a New Charging Case
- 17 16. Lick the Earbuds (Not Recommended)
- 18 FAQs
- 19 1. Why Isn’t My Beats Case Charging?
- 20 2. Why Is My Powerbeats Pro Case Not Charging?
- 21 3. How Do I Reset My Powerbeats Pro Charging Case?
- 22 4. Can You Charge Beats Powerbeats Pro Without a Case?
- 23 5. How Do I Charge My Beats Pro Case?
- 24 6. What Do the Lights on Powerbeats Pro Case Mean?
- 25 7. How Do I Charge My Beats Case?
Troubleshooting Powerbeats Pro Case Not Charging
Following is a comprehensive guide to help you resolve the non-charging issue with your Powerbeats Pro.
1. Check the Outlet
Let’s start this troubleshooting with the basics checks. Ensure that the power outlet you’re using is functioning correctly.
Plug in a different device or use a different charger to confirm that the outlet is providing power or use a multimeter to test it.
Sometimes, the issue may not be with your Powerbeats Pro but with the power source itself. By ruling out this possibility, you can focus on resolving the specific charging problem.
2. Inspect the Cable
The USB cable plays a critical role in the charging process, and any damage to it can disrupt charging.
Examine the entire length of the cable carefully, paying close attention to signs of wear and tear. Look for frayed wires near the connectors or any visible damage.
Damaged cables can lead to an unreliable connection, which in turn hinders the charging process.
If you identify any issues with the cable, such as exposed wires or bent connectors, it is strongly recommended to replace the cable with a new, undamaged one. Using a high-quality, undamaged cable is essential for consistent and effective charging.
Also Read: Onn Earbuds Not Charging – 10 Steps To Try
3. Clean the Charging Ports
Cleaning your earbuds is very important. Over time, charging ports on both your Powerbeats Pro case and the USB cable can accumulate dirt, dust, or debris, which can obstruct the connection.
- Begin by closely inspecting these ports for any visible particles.
- If you spot foreign objects, it’s important to proceed with the cleaning step.
- Use a soft brush or compressed air to gently remove dirt and debris from the charging ports.
- It’s crucial to clean both the case and the cable thoroughly.
This cleaning process ensures that the electrical connection remains unobstructed, which is vital for successful charging.
4. Verify the Case Battery Level
If you find out that the issue isn’t with the power outlet, charging cable, or port, it’s important to consider checking the current battery level of your Powerbeats Pro case before proceeding.
If the case’s battery is completely drained, it won’t have the capacity to charge the earbuds effectively.
To check the case battery level on:
On your iOS device:
-
- Make sure that your Powerbeats Pro is turned on and paired with your iOS device.
- Place the earbuds in the charging case.
- Keep the case lid open.
- Hold your Powerbeats Pro within 2 inches of your unlocked iOS device.
- On your iOS device, a card appears that shows the battery level of the earbuds and the charging case.
On your Android device:
-
- Download the Beats app from the Google Play Store.
- Open the Beats app and connect your Powerbeats Pro.
- The app will show the battery level of the earbuds and the charging case.
On the charging case itself:
The LED status light on the front of the charging case will light up in different colors to indicate the battery level.
- Green: Fully charged
- Amber: Medium charge
- Red: Low charge
Read Blog Posts: Haylou GT1 Pro Not Charging – 11 Easy Steps To Restore Charging
5. Ensure Proper Placement
Properly placing the earbuds in the case is fundamental for establishing a successful charging connection. When inserting the earbuds into the case, ensure they are aligned correctly with the charging pins.
Proper alignment guarantees that the charging pins on the earbuds make contact with the corresponding pins in the case.
Additionally, make sure the earbuds fit snugly within the case. A secure fit not only ensures the proper alignment of the charging pins but also prevents accidental disconnection during the charging process.
Proper placement is a critical step in resolving charging issues with your Powerbeats Pro.
6. Toggle Off Automatic Ear Detection
In some situations, charging issues may be linked to the Powerbeats Pro’s automatic ear detection feature.
This feature is designed to pause playback when you remove an earbud from your ear, but it can sometimes interfere with the charging process.
- On your device, open the Settings app.
- Tap Bluetooth.
- Under the My Devices list, tap the i icon next to your Powerbeats Pro.
- Toggle off the Automatic Ear Detection switch.
7. Unpair and Pair Again
The next simple yet effective step is to unpair your Powerbeats Pro from your device and then pair them again.
This action essentially resets the Bluetooth connection between your device and the earbuds.
Here are the steps to unpair and pair your Powerbeats Pro again:
- Make sure that your Powerbeats Pro is turned off.
- On your device, open the Settings app.
- Tap Bluetooth.
- Under the My Devices list, tap the i icon next to your Powerbeats Pro.
- Tap Unpair.
- Your Powerbeats Pro will be unpaired from your device.
To pair your Powerbeats Pro again, follow these steps:
- Make sure that your Powerbeats Pro is turned on.
- On your device, open the Settings app.
- Tap Bluetooth.
- Tap the + icon.
- Your Powerbeats Pro will appear in the list of available devices.
- Tap the name of your Powerbeats Pro to pair them with your device.
8. Take Temperature Considerations
It’s essential to be mindful of the environmental conditions when charging your Powerbeats Pro. Extreme temperatures, whether excessively hot or cold, can have a significant impact on battery performance.
Charging the earbuds in such conditions may lead to complications. To ensure optimal charging, make sure both the Powerbeats Pro case and the earbuds are at a moderate temperature before initiating the charging process.
This precaution helps prevent potential temperature-related issues and ensures efficient charging.
9. Clean the Earbuds
If your Powerbeats Pro earbuds have come into contact with liquid, it’s essential to address this promptly to prevent any charging-related problems.
- Start by thoroughly drying them with a clean, dry cloth.
- Ensure that no moisture remains inside the earbuds.
Moisture can interfere with the charging process and damage the internal components, so it’s crucial to keep them dry.
Quick Reads:
- JLab Headphones Not Charging – 8 Steps To Resolve The Issue
- Indy Evo Not Charging – [FIXED] 8 Steps To Try
10. Clean the Charging Contacts
Clean the charging contacts on both the earbuds and the charging case to maintain a reliable connection.
Gently use a soft, dry cloth to clean these contacts, ensuring they are free from any debris or residue.
Dirty or obstructed charging contacts can lead to charging problems, and keeping them clean helps ensure efficient charging and connectivity.
11. Reset the Powerbeats Pro Case
Performing a reset on the Powerbeats Pro case can often resolve charging-related issues.
- Press and hold the button inside the Powerbeats Pro case, which is typically located near the charging port.
- Maintain this button press for approximately 15 seconds.
- After about 15 seconds, the solid white light will change to a red light, indicating the reset process.
12. Drain the Battery Fully and Charge it Again
In some cases, recalibrating the battery indicator can help resolve charging issues.
To do this, allow both the Powerbeats Pro case and the earbuds to completely run out of battery power.
Once they are fully drained, connect them to a charger and charge them again from empty to full.
This process can help reset the battery indicator and improve overall battery performance.
13. Trying Soldering Charging Contacts
If you think the reason your device isn’t charging might be because the connections between certain terminal points are weak or faulty, you can consider using soldering as a potential fix.
- Begin by closely inspecting these terminals to see if they are making proper contact.
- If you find that the connection is not secure, you can use a soldering iron to strengthen it by adding more solder.
- This could significantly improve the contact and possibly solve the charging problem.
Just make sure to follow safe soldering practices to handle this technical issue effectively and professionally.
The following video can help you through this process.
14. Update Firmware
Keeping your Powerbeats Pro up-to-date with the latest firmware is essential for addressing potential software-related issues.
Check for firmware updates through the Beats app on your connected device. Firmware updates often include bug fixes and improvements that can resolve charging or connectivity problems.
15. Buy a New Charging Case
If you’ve exhausted all troubleshooting options and your Powerbeats Pro charging case still doesn’t work, purchasing a new charging case may be a viable solution.
A new charging case can ensure that you have a reliable and fully functioning charging accessory for your earbuds.
Contact the manufacturer or an authorized dealer to find a compatible replacement charging case for your Powerbeats Pro.
16. Lick the Earbuds (Not Recommended)
Occasionally, a few users have resorted to a rather unconventional method as a last resort. This method involves gently licking the charging contacts on the earbuds.
It’s important to note that this approach is highly unorthodox, not recommended, and should only be considered as a temporary solution, if at all.
While it has worked for some individuals in addressing charging issues temporarily, it’s crucial to emphasize that this is not a professional or recommended method.
Before even contemplating this unusual approach, we strongly advise exploring more conventional troubleshooting methods, as they are safer and more likely to yield lasting results for a broader range of users.
FAQs
1. Why Isn’t My Beats Case Charging?
If your Beats case isn’t charging, there could be several reasons. First, make sure it’s connected to a power source, the charging cable is functioning, and the charging port on the case is clean and free of debris. If it still doesn’t charge, the case or battery may be faulty, and you should contact Beats customer support for assistance.
2. Why Is My Powerbeats Pro Case Not Charging?
If your Powerbeats Pro case isn’t charging, check the same factors as mentioned above. Ensure the charging cable, power source, and case ports are working correctly. If it remains unresponsive, you may need to inspect the case for damage or consult Beats customer support.
3. How Do I Reset My Powerbeats Pro Charging Case?
To reset your Powerbeats Pro charging case, open the lid, and then press and hold the button inside the case until the LED light on the case flashes red and white. This will reset the case, but it won’t affect your earbuds. After resetting, you may need to pair your earbuds with your device again.
4. Can You Charge Beats Powerbeats Pro Without a Case?
No, you cannot charge Powerbeats Pro earbuds without their charging case. The case serves as both a storage and charging unit for the earbuds. You’ll need to place the earbuds in the case to charge them.
5. How Do I Charge My Beats Pro Case?
To charge your Beats Pro case, connect it to a power source using the provided charging cable. Ensure the cable is securely connected to both the case and the power source, and then wait for the case’s LED indicator lights to confirm that it’s charging. The lights will turn solid when fully charged.
6. What Do the Lights on Powerbeats Pro Case Mean?
The lights on the Powerbeats Pro case indicate the battery status. When you open the lid of the case, the LED lights will flash in different colors (green, amber, or red) to show the remaining charge level of the case and the earbuds. Green means the case is charged, amber signifies moderate charge, and red indicates low charge.
7. How Do I Charge My Beats Case?
To charge your Beats case, connect it to a power source using the provided charging cable. Plug one end into the case and the other into a USB power adapter or a USB port on a computer. Ensure the connection is secure, and the case should start charging. The LED lights on the case will indicate the charging progress, turning solid when fully charged.

John Paul is a tech enthusiast dedicated to troubleshooting. He is passionate about fixing glitches, simplifying complexities, and empowering others in the digital realm.