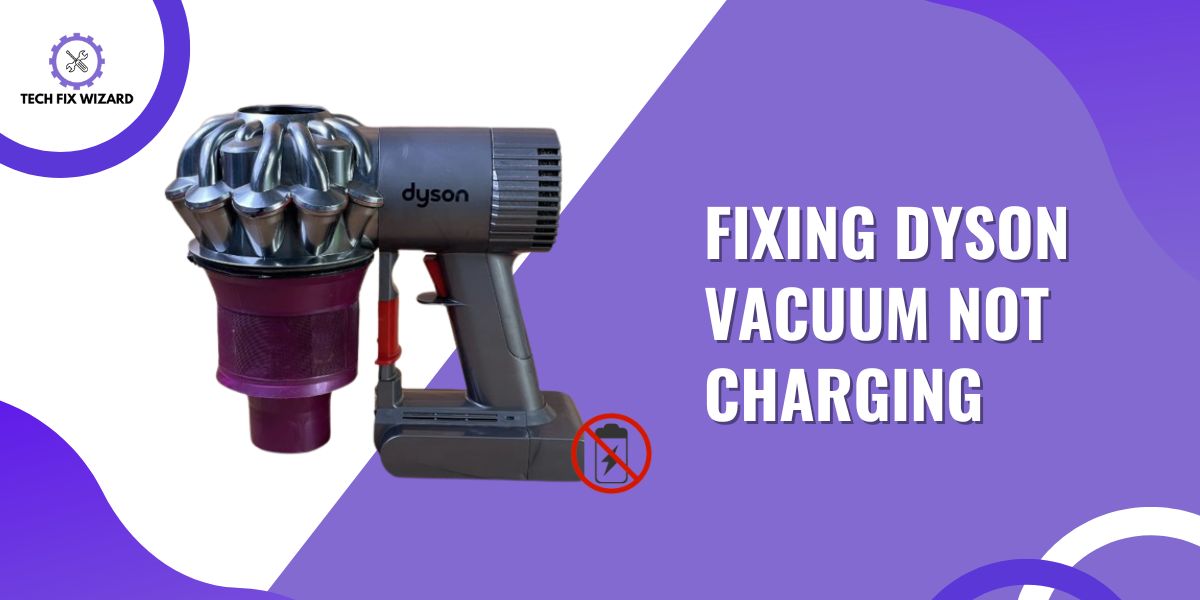
A Dyson vacuum cleaner is a handy tool for maintaining a clean home, but it can be frustrating when it refuses to charge.
This situation disrupts your cleaning routine and leaves you seeking solutions.
We understand your pain and frustration, therefore in this guide, we’ll provide you with a list of solutions to address your Dyson vacuum not charging issue, whether you have a cordless or upright model.
So, let’s get your vacuum back in action and your home dust-free.
Contents
- 1 Fixing Dyson Vacuum Not Charging – 11 Steps
- 2 1. Check the Power Outlet
- 3 2. Check the Power Cord for Damage
- 4 3. Check the Charging Port
- 5 4. Ensure Proper Docking
- 6 5. Check for Blockages
- 7 6. Check the Battery Case for Damage
- 8 7. Temperature Considerations
- 9 8. Reset the Vacuum
- 10 9. Examining Charging Board
- 11 10. Replace the Battery
- 12 11. Contact Customer Support
- 13 FAQs
- 14 1. How do I reset my Dyson battery?
- 15 2. Why is my vacuum battery not charging?
- 16 3. How do I know if my Dyson battery is bad?
- 17 4. Do Dyson vacuums stop charging?
- 18 5. Is it ok to leave Dyson charging all the time?
- 19 6. How many years does a Dyson vacuum battery last?
Fixing Dyson Vacuum Not Charging – 11 Steps
Following are the several steps you can take to effectively troubleshoot and potentially resolve the issue of a Dyson vacuum not charging.
1. Check the Power Outlet
When troubleshooting a Dyson vacuum that’s not charging, the first logical step is to examine the power source. Begin by verifying that the power outlet is operational.
Ensure that the outlet switch is turned on and that the circuit breaker hasn’t tripped. This ensures that power is available at the source.
Next, use a multimeter to measure the voltage at the outlet. Typically, outlets should provide a specific voltage, and if it falls significantly below the expected value, it could indicate an electrical issue.
Testing the outlet with other devices, such as a lamp or phone charger, can further confirm if it’s functional. This step helps rule out potential problems with the power source before moving on to the vacuum itself.
May You Like Reading: Miele Vacuum Not Turning On – Here’s What To Do [12 Steps]
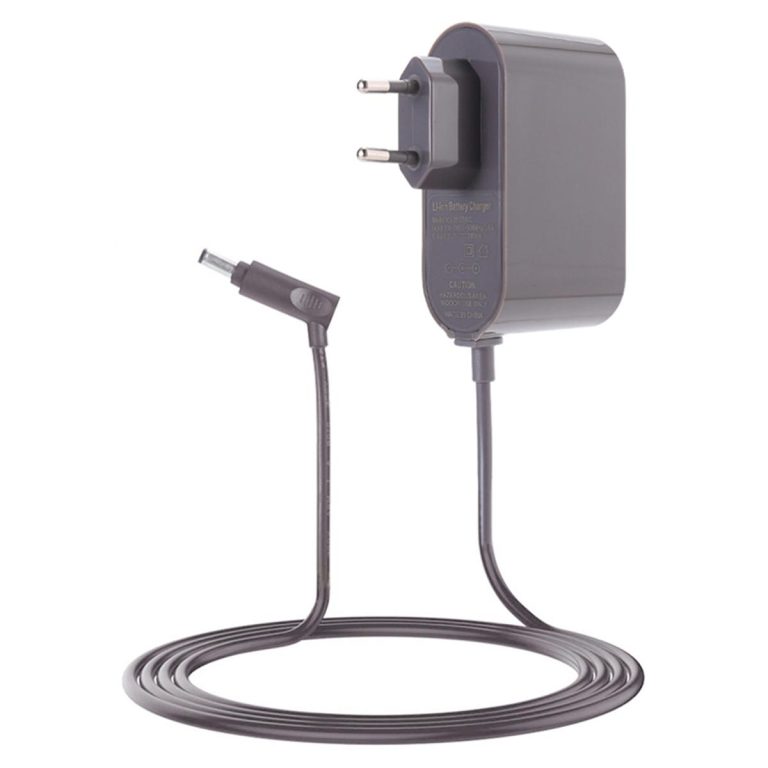
2. Check the Power Cord for Damage
After confirming that the power source is not the issue, shift your focus to the power cord. Thoroughly inspect the entire length of the power cord for any visible damage.
Look for signs of fraying, cuts, or exposed wires, which can compromise the cord’s integrity and safety.
If any damage is detected, it’s crucial to replace the power cord promptly. Using a damaged cord can pose safety risks and worsen the charging problem.
Ensure that the replacement cord is compatible with your Dyson vacuum model to maintain proper functionality.
3. Check the Charging Port
With the power source and cord verified, the next step is to inspect the charging port on the vacuum itself. Over time, dust, dirt, or debris can accumulate in the charging port, hindering the connection between the vacuum and the charger.
Take a close look at the charging port and clean it gently using a soft brush or compressed air. Removing any accumulated particles ensures a secure and unobstructed connection, allowing the vacuum to charge effectively.
This step ensures that the charging process isn’t impeded by external factors.
Read Blog Post: Shark Robot Not Connecting To Wi-Fi? 12 Simple Ways To Fix It
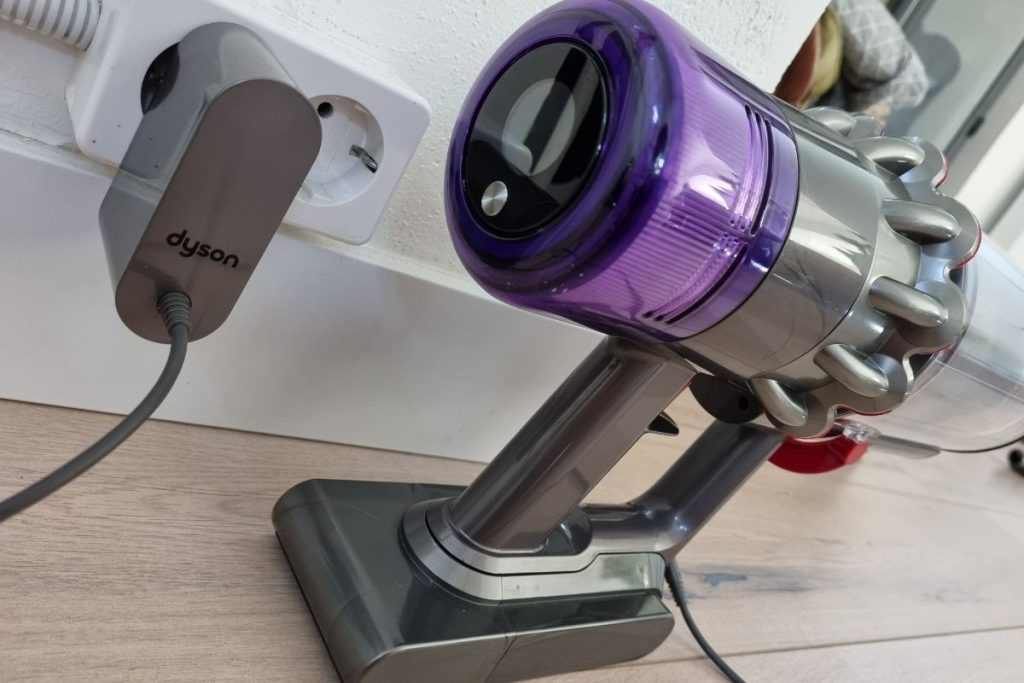
4. Ensure Proper Docking
Moving on in your troubleshooting process, it’s essential to ensure that the vacuum is correctly docked in its wall-mounted docking station.
This step ensures that the vacuum is securely in place and makes proper contact for charging. Carefully verify that the vacuum is properly seated in the docking station, ensuring that all connectors align correctly.
The docking station is designed to charge the vacuum efficiently, so if it’s not properly docked or making good contact, it can lead to charging issues.
Confirming this alignment and connection is a critical step to eliminate any potential issues with the charging setup.

5. Check for Blockages
Next, shift your attention to the vacuum’s air pathways, hoses, and filters. Inspect these components for any blockages or obstructions that might impede airflow.
Blockages can negatively affect the vacuum’s operation and battery life, as they increase the workload on the motor. Carefully examine and remove any accumulated dirt, debris, or foreign objects that may be clogging these pathways.
Ensure that the vacuum’s airflow remains unobstructed, as this not only aids in charging but also improves overall vacuum performance.
Read Blog Posts: Eureka Cordless Vacuum Not Charging – [SOLVED] 8 Easy Fixes
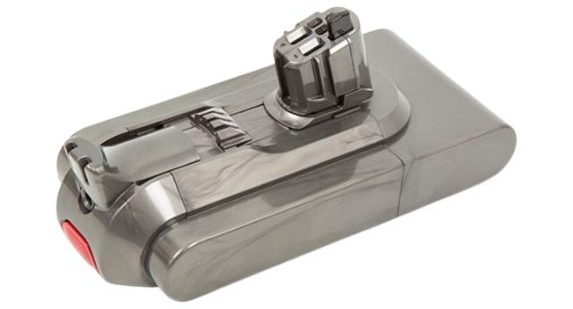
6. Check the Battery Case for Damage
Inspect the battery case for any physical damage or visible signs of wear and tear. The battery case houses the vacuum’s power source, and if it’s damaged, it can lead to charging problems and potentially compromise safety.
Look for cracks, dents, or other structural issues in the battery case. If any damage is found, it’s crucial to address it promptly.
7. Temperature Considerations
It’s important to take into account temperature conditions when troubleshooting your Dyson vacuum’s charging issue. Verify that the vacuum is operating within the recommended temperature range specified in the user manual.
Extreme temperatures can significantly impact battery performance. If the vacuum is exposed to temperatures outside the recommended range, it may struggle to charge or operate efficiently.
To resolve this, ensure the vacuum is used and stored within the designated temperature limits, which will help maintain optimal battery function.
8. Reset the Vacuum
In some cases, a reset can be a useful troubleshooting step, performing a reset can help clear any temporary issues that could be hindering the charging process.
This step is relatively straightforward and can often be done without professional assistance.
To do this, follow these steps:
- Unplug the charger from the wall.
- Plug the charger back in again.
- Connect the charger to the Dyson vacuum.
- Pull the trigger and hold for 20 seconds, even though the vacuum doesn’t turn on.
- Let go of the trigger.
- Remove the charger from the vacuum.
9. Examining Charging Board
For those comfortable with technical troubleshooting, a voltage test on the vacuum’s charging board can provide valuable insights into potential electrical issues.
This step involves using a multimeter to verify if electrical connections within the board are intact. This step will help to further pinpoint the culprit.
Also Read: Bissell CrossWave Not Charging – Try These 12 Essential Fixes
10. Replace the Battery
If all previous troubleshooting steps have been exhausted and your Dyson vacuum’s battery is old, damaged, or no longer holding a charge, it may be time to consider replacing it with a compatible battery.
Batteries degrade over time, and a failing battery can be a common cause of charging issues.
Ensure that you obtain a replacement battery that is specifically designed for your Dyson vacuum model. Follow are the steps for battery replacement:
- Ensure safety by unplugging the vacuum.
- Remove attachments and detach the dustbin.
- Lay the vacuum down for easy access.
- Unscrew the battery cover (two screws).
- Carefully remove the old battery.
- Insert the new battery securely.
- Reattach the battery cover with screws.
- Refit the dust bin and close the lid.
- Test the vacuum; charge if needed.
11. Contact Customer Support
If none of the previous steps have resolved the charging problem, it’s advisable to reach out to Dyson’s customer support for further assistance.
Provide them with comprehensive details of the issue, including the vacuum model, a description of the problem, and the troubleshooting steps you’ve already taken.
Trending Blog Posts:
- ECOVACS DEEBOT Not Charging – Effective Troubleshooting & Fixes
- ILIFE Robot Vacuum Not Charging – 10 Steps To Revive Charging
FAQs
1. How do I reset my Dyson battery?
To reset your Dyson battery, first ensure it’s fully depleted, then charge it uninterrupted for at least 3.5 hours. If this doesn’t work, refer to your Dyson manual or contact Dyson customer support for specific reset instructions.
2. Why is my vacuum battery not charging?
Several factors can cause this issue, including a faulty charger, a damaged battery, or a problem with the vacuum itself. To troubleshoot, check the charger, and battery contacts, and try a different outlet. If the problem persists, contact Dyson support.
3. How do I know if my Dyson battery is bad?
Signs of a bad Dyson battery include significantly reduced runtime, frequent need for recharging, or the vacuum not turning on at all when disconnected from the charger. If you observe these issues, it’s likely time to replace the battery.
4. Do Dyson vacuums stop charging?
Dyson vacuums are designed to stop charging once the battery is fully charged. This prevents overcharging and prolongs battery life, so it’s safe to leave them plugged in.
5. Is it ok to leave Dyson charging all the time?
Yes, it’s generally safe to leave your Dyson vacuum charging all the time, as modern Dyson models are equipped with smart charging systems that prevent overcharging. However, it’s still a good practice to unplug it once fully charged to conserve energy.
6. How many years does a Dyson vacuum battery last?
The lifespan of a Dyson vacuum battery varies depending on usage and care. On average, Dyson batteries can last 2 to 5 years. Regular maintenance, such as proper charging and storage, can help extend battery life.

John Paul is a tech enthusiast dedicated to troubleshooting. He is passionate about fixing glitches, simplifying complexities, and empowering others in the digital realm.