
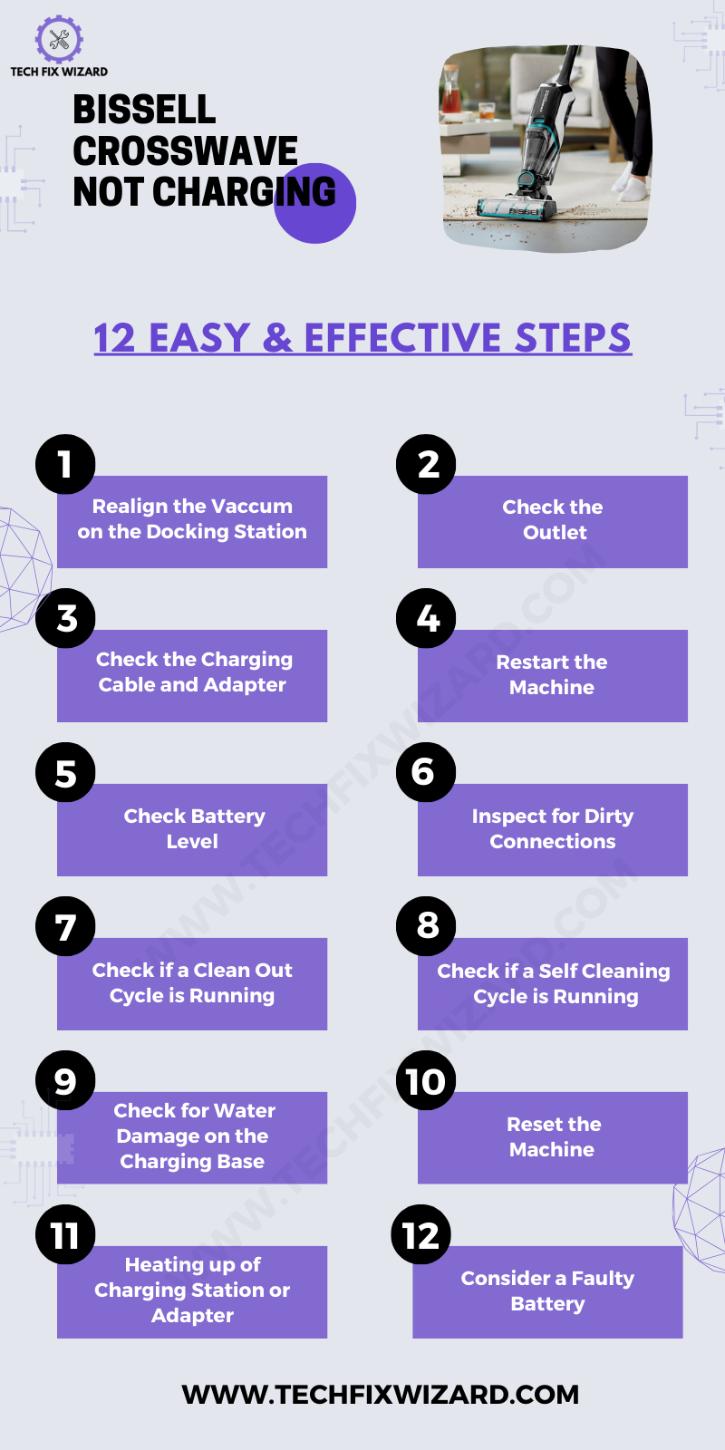
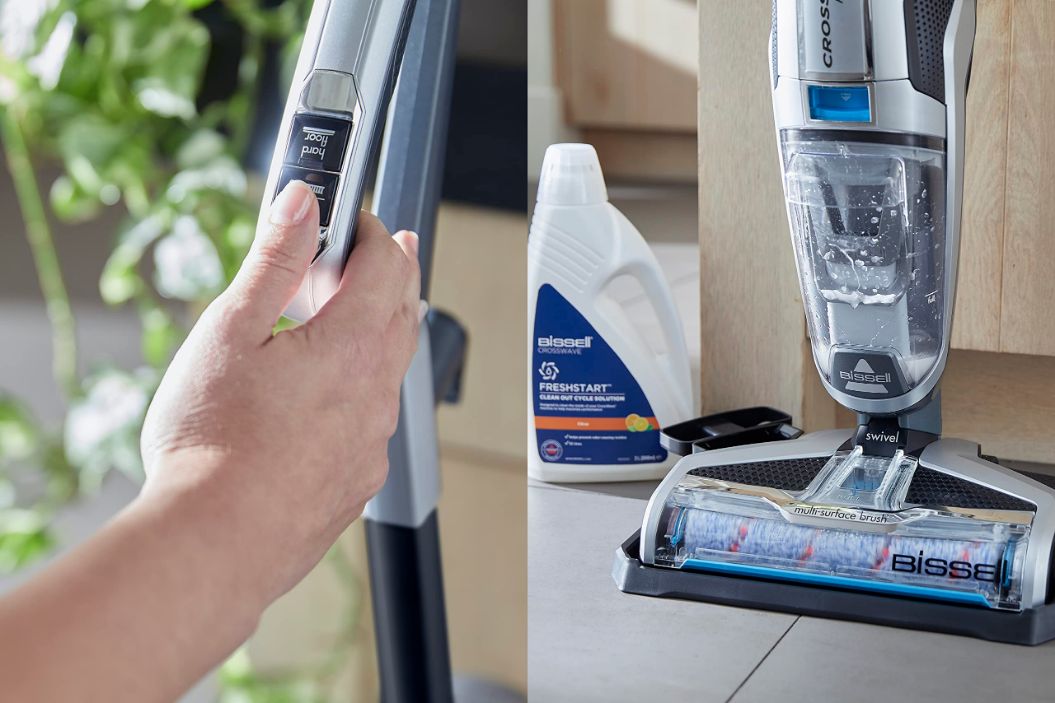
The Bissell CrossWave is a versatile and convenient cleaning machine designed to keep your floors spotless.
However, encountering issues with its charging can be frustrating.
In this guide, we’ll explore common reasons why your Bissell CrossWave not charging and provide practical solutions to get it back to full power.
Contents
- 1 8 Common Reasons for Bissell CrossWave Charging Issues
- 2 Troubleshooting Bissell CrossWave Not Charging – 12 Steps
- 3 1. Realign the Vaccum on the Docking Station
- 4 2. Check the Outlet
- 5 3. Check the Charging Cable and Adapter
- 6 4. Restart the Machine
- 7 5. Check Battery Level
- 8 6. Inspect for Dirty Connections
- 9 7. Check if a Clean Out Cycle is Running
- 10 8. Check if a Clean Self Cleaning Cycle is Running
- 11 9. Check for Water Damage on the Charging Base
- 12 10. Reset the Machine
- 13 11. Heating up of Charging Station or Adapter
- 14 12. Consider a Faulty Battery
- 15 10 Care and Maintenance Tips for Your Bissell CrossWave
- 16 FAQs
- 17 1. Why Is My Bissell Not Charging?
- 18 2. How Do I Know If My Bissell CrossWave Is Charging?
- 19 3. Why Is My Bissell CrossWave Not Turning On?
- 20 4. Why Is My Bissell CrossWave Cordless Not Working?
- 21 5. Why Is My Bissell Not Turning?
- 22 6. Why Is My Electric Vacuum Not Working?
- 23 7. What Is the Common Problem of a Vacuum Cleaner?
- 24 8. How Do I Fix My Bissell Vacuum Cleaner?
8 Common Reasons for Bissell CrossWave Charging Issues
Let’s first explore some common causes of charging issues to gain a better understanding of how they can impact the charging functionalities of the device and why troubleshooting is essential.
| Number | Reason | Description |
|---|---|---|
| 1. | Power Outlet Issues | Problems with the electrical source, including faulty outlets or tripped circuit breakers. |
| 2. | Charging Cable Issues | Problems related to the charging cable, such as damage or loose connections. |
| 3. | Battery Problems | Issues with the battery, include depletion, damage, corrosion, or improper seating. |
| 4. | Charging Contacts | Charging issues are caused by dust or debris on the contacts. |
| 5. | Charger Issues | Problems with the charger, such as being faulty or incompatible. |
| 6. | Battery Reset Required | Occasionally, the battery may require a reset for charging to resume. |
| 7. | Software/Firmware Issues | Charging problems due to outdated software or firmware. |
| 8. | User Error | Charging issues are caused by incorrect usage or setup. |
Troubleshooting Bissell CrossWave Not Charging – 12 Steps
When your Bissell CrossWave won’t charge, it can be frustrating, but there’s a methodical approach to solve it. You may encounter issues with the power source, charging cable, battery, or other factors.
By following the step-by-step troubleshooting provided below you can likely fix the problem and have your CrossWave back to its efficient cleaning in no time.
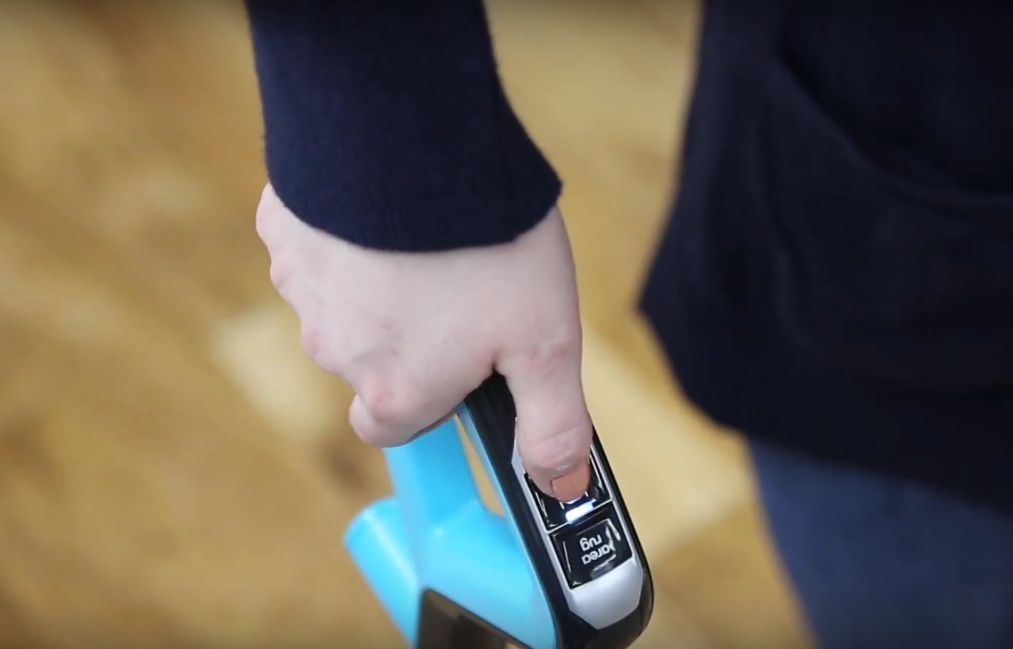
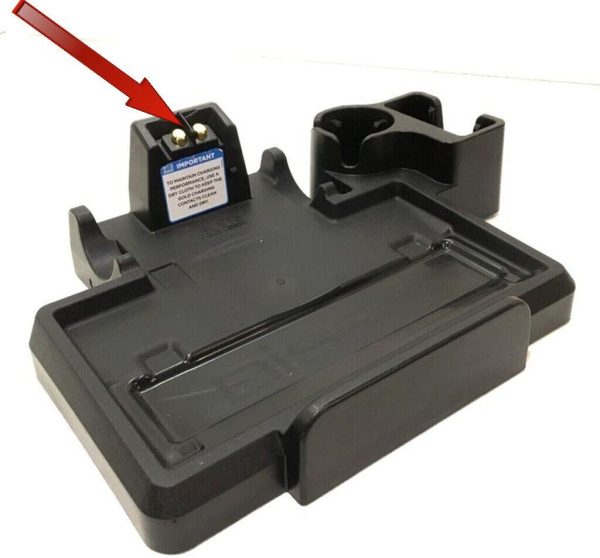
1. Realign the Vaccum on the Docking Station
Begin by ensuring that the vacuum is properly placed on the 3-in-1 docking station. Start by confirming that the machine is powered off.
Carefully remove the vacuum from the docking station and then reposition it, making sure it fits securely and aligns precisely with the charging contacts on both the machine and the station.
Listen closely for a confirming click or locking sound to ensure that the machine is now properly seated on the station.
It’s crucial to stress the importance of this alignment step, as any misalignment can disrupt the charging connection, potentially causing the troubleshooting efforts to be ineffective.
Also Read: Dyson Vacuum Not Charging – Let’s Resolve It [11 Steps To Follow]
2. Check the Outlet
To verify the functionality of the electrical outlet where the docking station is plugged in, unplug the Bissell CrossWave machine and any other devices from it temporarily.
Plug in another known working If the alternative device doesn’t work, the outlet may require attention or repair to the same outlet to ascertain if it’s supplying power correctly. This simple test can determine whether the outlet itself is causing the charging issue.
If the alternative device doesn’t work, the outlet may require attention or repair. You can also utilize a multimeter to accurately verify whether the outlet is functional or not.
May You Like Reading: Miele Vacuum Not Turning On – Here’s What To Do [12 Steps]
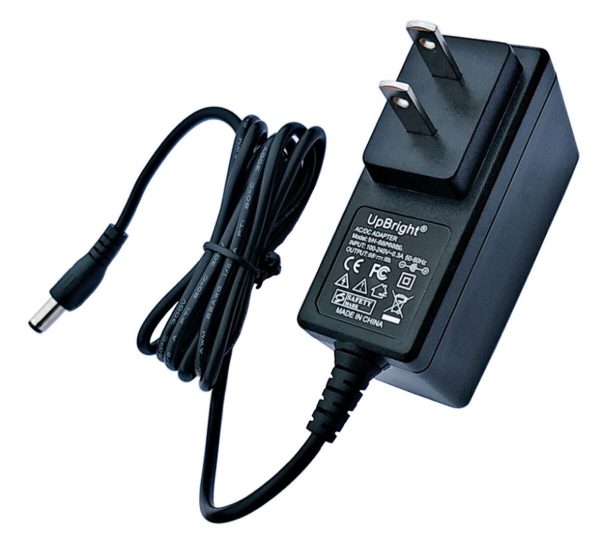
3. Check the Charging Cable and Adapter
Inspect the charging cable and adapter thoroughly, paying close attention to any visible damage, frayed wires, or other signs of wear and tear.
Damaged components can obstruct the charging process, so it’s crucial to identify any issues. If you discover any damage, it’s advisable to replace the damaged components with new ones to ensure safe and efficient charging.
4. Restart the Machine
If the Bissell CrossWave still isn’t charging after checking the alignment, outlet, and charging components, try a simple restart.
Turn off the machine by pressing the power button or switch. After it’s completely powered down, turn it back on. This step can clear any minor software glitches that might be affecting the charging process.
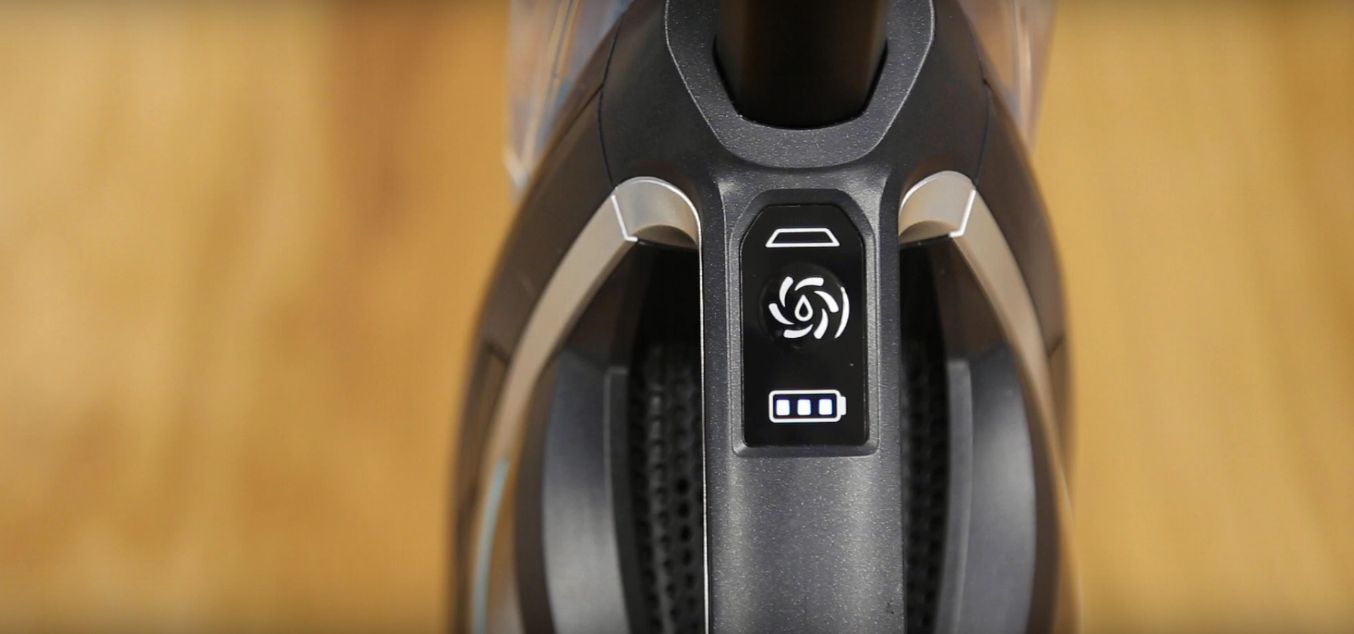
5. Check Battery Level
Following the restart, it’s important to verify the battery level of the CrossWave. Place the machine on the docking station for an extended period, typically a few hours, to ensure it has ample time to charge fully.
Confirm that the battery indicator on the machine or the docking station shows a complete charge. If the battery level doesn’t increase as expected, it’s essential to continue troubleshooting.
Read Blog Posts: Eureka Cordless Vacuum Not Charging – [SOLVED] 8 Easy Fixes
6. Inspect for Dirty Connections
In case the battery level still doesn’t improve, carefully examine the contacts on both the machine and the docking station. Look for any accumulation of dirt, debris, or corrosion.
If you find any, gently clean these contacts using a soft, dry cloth. Dirty connections can hinder the charging process, so addressing this issue can potentially resolve the problem.
If cleaning the contacts doesn’t yield results, proceed to the next troubleshooting steps to further diagnose and resolve the charging issue.
7. Check if a Clean Out Cycle is Running
The clean-out cycle is a brief cleaning process that flushes the dirty water tank and brush roll with clean water. It serves to remove any residual dirt or debris that might be obstructing the machine’s functionality.
Ensure that the clean-out cycle isn’t in progress while attempting to charge the CrossWave, as it cannot charge during this cycle. This cycle is typically initiated after each cleaning session.
8. Check if a Clean Self Cleaning Cycle is Running
The self-cleaning cycle, on the other hand, is a more extensive cleaning process that involves the use of a specialized cleaning solution.
It cleans the dirty water tank, brush roll, and internal components, eliminating any potential odors or bacteria buildup.
This cycle is typically run once a week or more, depending on how frequently the machine is used. Make sure the self-cleaning cycle is not active when attempting to charge the CrossWave.
9. Check for Water Damage on the Charging Base
Inspect the charging base, which is the part of the docking station that makes contact with the machine, for any indications of water damage or corrosion.
Water damage can interfere with the charging process, so it’s important to rule out this issue by examining the charging base closely.
10. Reset the Machine
To address potential software-related issues that might be affecting charging, you can perform a simple reset.
- Turn off the machine and unplug it from the power outlet.
- Locate the reset button on the back of the machine.
- Press and hold the reset button for 20 seconds.
- Release the button and plug the machine back in.
- Turn on the machine and it should be reset.
This action can help clear any software glitches that could be hindering the charging process.
11. Heating up of Charging Station or Adapter
If you observe that the charging station or adapter becomes excessively hot during the charging process, it could signify a problem with the charging components.
In this case, unplug the charging station and adapter immediately to prevent any safety hazards, and reach out to Bissell customer support for further assistance.
12. Consider a Faulty Battery
If none of the previous steps yield positive results, it’s worth considering that the battery itself might be faulty and in need of replacement.
To address this, get in touch with Bissell customer support or consult your product’s warranty for guidance on how to proceed with battery replacement.
10 Care and Maintenance Tips for Your Bissell CrossWave
To ensure its longevity and peak performance, proper care and maintenance are essential. Here are some valuable tips to help you maintain your Bissell CrossWave in top condition:
| Number | Step | Description |
|---|---|---|
| 1. | Regular Cleaning | Clean the machine after each use, including emptying the dirty water tank and rinsing the brush roll. |
| 2. | Filter Maintenance | Clean or replace filters as per the user manual’s recommendations for optimal suction and filtration. |
| 3. | Brush Roll Care | Check and clean the brush roll to prevent clogs and prolong its lifespan. |
| 4. | Empty the Dirty Water Tank | Promptly empty and rinse the tank to prevent odors and bacteria growth. |
| 5. | Storage | Store the CrossWave in a cool, dry place away from extreme temperatures, moisture, and direct sunlight. |
| 6. | Regular Checkups | Periodically inspect for loose parts or wear and tear, addressing issues promptly. |
| 7. | Use Genuine Accessories | Only use genuine Bissell parts and accessories for replacements. |
| 8. | Maintenance Schedule | Follow the recommended maintenance schedule in the user manual. |
| 9. | Deep Cleaning | Occasionally perform a deep cleaning following the user manual’s instructions. |
| 10. | Warranty Awareness | Familiarize yourself with the warranty terms and contact Bissell customer support or an authorized service center for significant issues. |
FAQs
1. Why Is My Bissell Not Charging?
If your Bissell is not charging, first, ensure that the charging cable is securely connected to both the vacuum and a working power outlet. Verify that the power outlet is functional by plugging in another device. If the problem persists, inspect the charging cable for any visible damage.
2. How Do I Know If My Bissell CrossWave Is Charging?
To determine if your Bissell CrossWave is charging, look for an indicator light on the vacuum. This indicator is in the form of a battery icon which illuminates while charging.
3. Why Is My Bissell CrossWave Not Turning On?
If your Bissell CrossWave is not turning on, start by ensuring that it is adequately charged. If the battery is depleted, charge it before attempting to turn the vacuum on.
Check for any obstructions or clogs in the brush roll area that may be preventing it from operating. Additionally, make sure the water tank is correctly installed and secure.
4. Why Is My Bissell CrossWave Cordless Not Working?
When your Bissell CrossWave cordless is not working, begin by checking the battery status and charging connection.
A depleted battery could be the issue. Inspect the filter for clogs or blockages, and ensure there are no obstructions in the brush roll or nozzle that could impede its performance.
5. Why Is My Bissell Not Turning?
If your Bissell is not turning, first check the brush roll for any tangles or debris that may be restricting its movement. Ensure that the vacuum is not in a locked upright position, as this can prevent it from turning on. Unlock it and try again.
6. Why Is My Electric Vacuum Not Working?
If your electric vacuum is not working, check if the circuit breaker or fuse for the power outlet you are using has tripped. Inspect the vacuum’s power cord for any visible damage or wear. Additionally, ensure that the vacuum’s safety features, such as thermal overload protection, have not been triggered.
7. What Is the Common Problem of a Vacuum Cleaner?
Common problems with vacuum cleaners include clogged filters, blockages in hoses, damaged power cords, and worn-out brush rolls. Regular maintenance, such as cleaning filters and clearing blockages, can help prevent these issues.
8. How Do I Fix My Bissell Vacuum Cleaner?
To fix your Bissell vacuum cleaner, troubleshoot by checking the power source, filters, brush roll, and hoses for any issues. Refer to your vacuum’s user manual for specific guidance on maintenance and troubleshooting. If problems persist, consider contacting Bissell customer support or a professional repair service for assistance.

John Paul is a tech enthusiast dedicated to troubleshooting. He is passionate about fixing glitches, simplifying complexities, and empowering others in the digital realm.