Blink cameras have become a popular choice for homeowners and businesses alike. These compact, wireless devices offer peace of mind by capturing crucial moments whenever motion is detected.
However, what happens when your Blink camera suddenly stops recording? This scenario can be both frustrating and concerning, as it might mean missing out on valuable footage that could be essential for security or personal reasons.
In this guide, we will delve into the common reasons behind the Blink camera not recording issue and provide comprehensive solutions to address each issue.
Contents
- 1 12 Possible Reasons Behind Blink Camera Not Recording Issue
- 2 15 Solutions to Resolve Blink Camera Not Recording Issue
- 3 1. Consider Subscribing for Consistent Recording
- 4 2. Troubleshoot and Enhance Wi-Fi Connectivity
- 5 3. Ensure All Cameras Are on the Same Plan
- 6 4. Arm the Blink System
- 7 5. Verify That Motion Detection Is Active for Each Camera
- 8 6. Adjust Activity Zones to Cover Desired Areas
- 9 7. Increase Sensitivity Settings for Reliable Detection
- 10 8. Relocate Cameras Closer to Targeted Areas
- 11 9. Confirm That Motion Recording Is Enabled
- 12 10. Replace Depleted Batteries
- 13 11. Firmware Update
- 14 12. Restart Your Blink Camera
- 15 13. Reset the Sync Module
- 16 14. Reset the Blink Camera
- 17 15. Resolve Hardware Issues
- 18 FAQs
- 19 1. Why is my Blink camera not recording?
- 20 2. Why is my Blink not saving videos?
- 21 3. How do I get my Blink camera to record motion?
- 22 4. Why is my Blink camera not recording at night?
- 23 5. Is Blink recording all the time?
- 24 6. Do Blink cameras work in the dark?
- 25 7. How can I make my Blink camera better at night?
- 26 8. What distances can Blink cameras see?
- 27 9. How long do Blink cameras last?
- 28 10. Are Blink cameras waterproof?
- 29 11. Do Blink cameras work without WiFi?
- 30 12. Can you replace Blink batteries?
- 31 13. How far can Blink camera detect night vision?
- 32 14. Will a Blink camera work through a window?
- 33 15. What is dark mode on Blink camera settings?
12 Possible Reasons Behind Blink Camera Not Recording Issue
There could be various reasons behind the frustration of a Blink camera not recording when it should. We have enlisted a few common culprits to address in the following sections.
Going through this list can help you identify the specific issue you might be facing and guide you toward the appropriate solution.
Whether it’s a simple setting adjustment or a more complex technical matter, understanding the potential causes is the first step towards restoring the reliable functionality of your Blink camera.
| No. | Possible Reasons for Blink Camera Not Recording |
|---|---|
| 1. | The Camera is Not Armed |
| 2.. | Motion Detection is Not Enabled |
| 3. | Motion Sensitivity Level is Too Low |
| 4. | Camera is Not Connected to the Internet |
| 5. | The Cloud Subscription Has Expired |
| 6. | Not Subscribed to a Blink Subscription Plan |
| 7. | USB Drive Not Formatted Correctly |
| 8. | USB Drive is Full |
| 9. | The Storage Drive is Disconnected |
| 10. | Camera is Experiencing a Hardware Issue |
| 11. | Low Battery |
| 12. | Outdated Firmware |
15 Solutions to Resolve Blink Camera Not Recording Issue
Now, we’ll provide you with a very comprehensive list of solutions to address all the above-mentioned reasons and resolve them effectively.
Let’s dive into these solutions to get your Blink camera recording seamlessly.
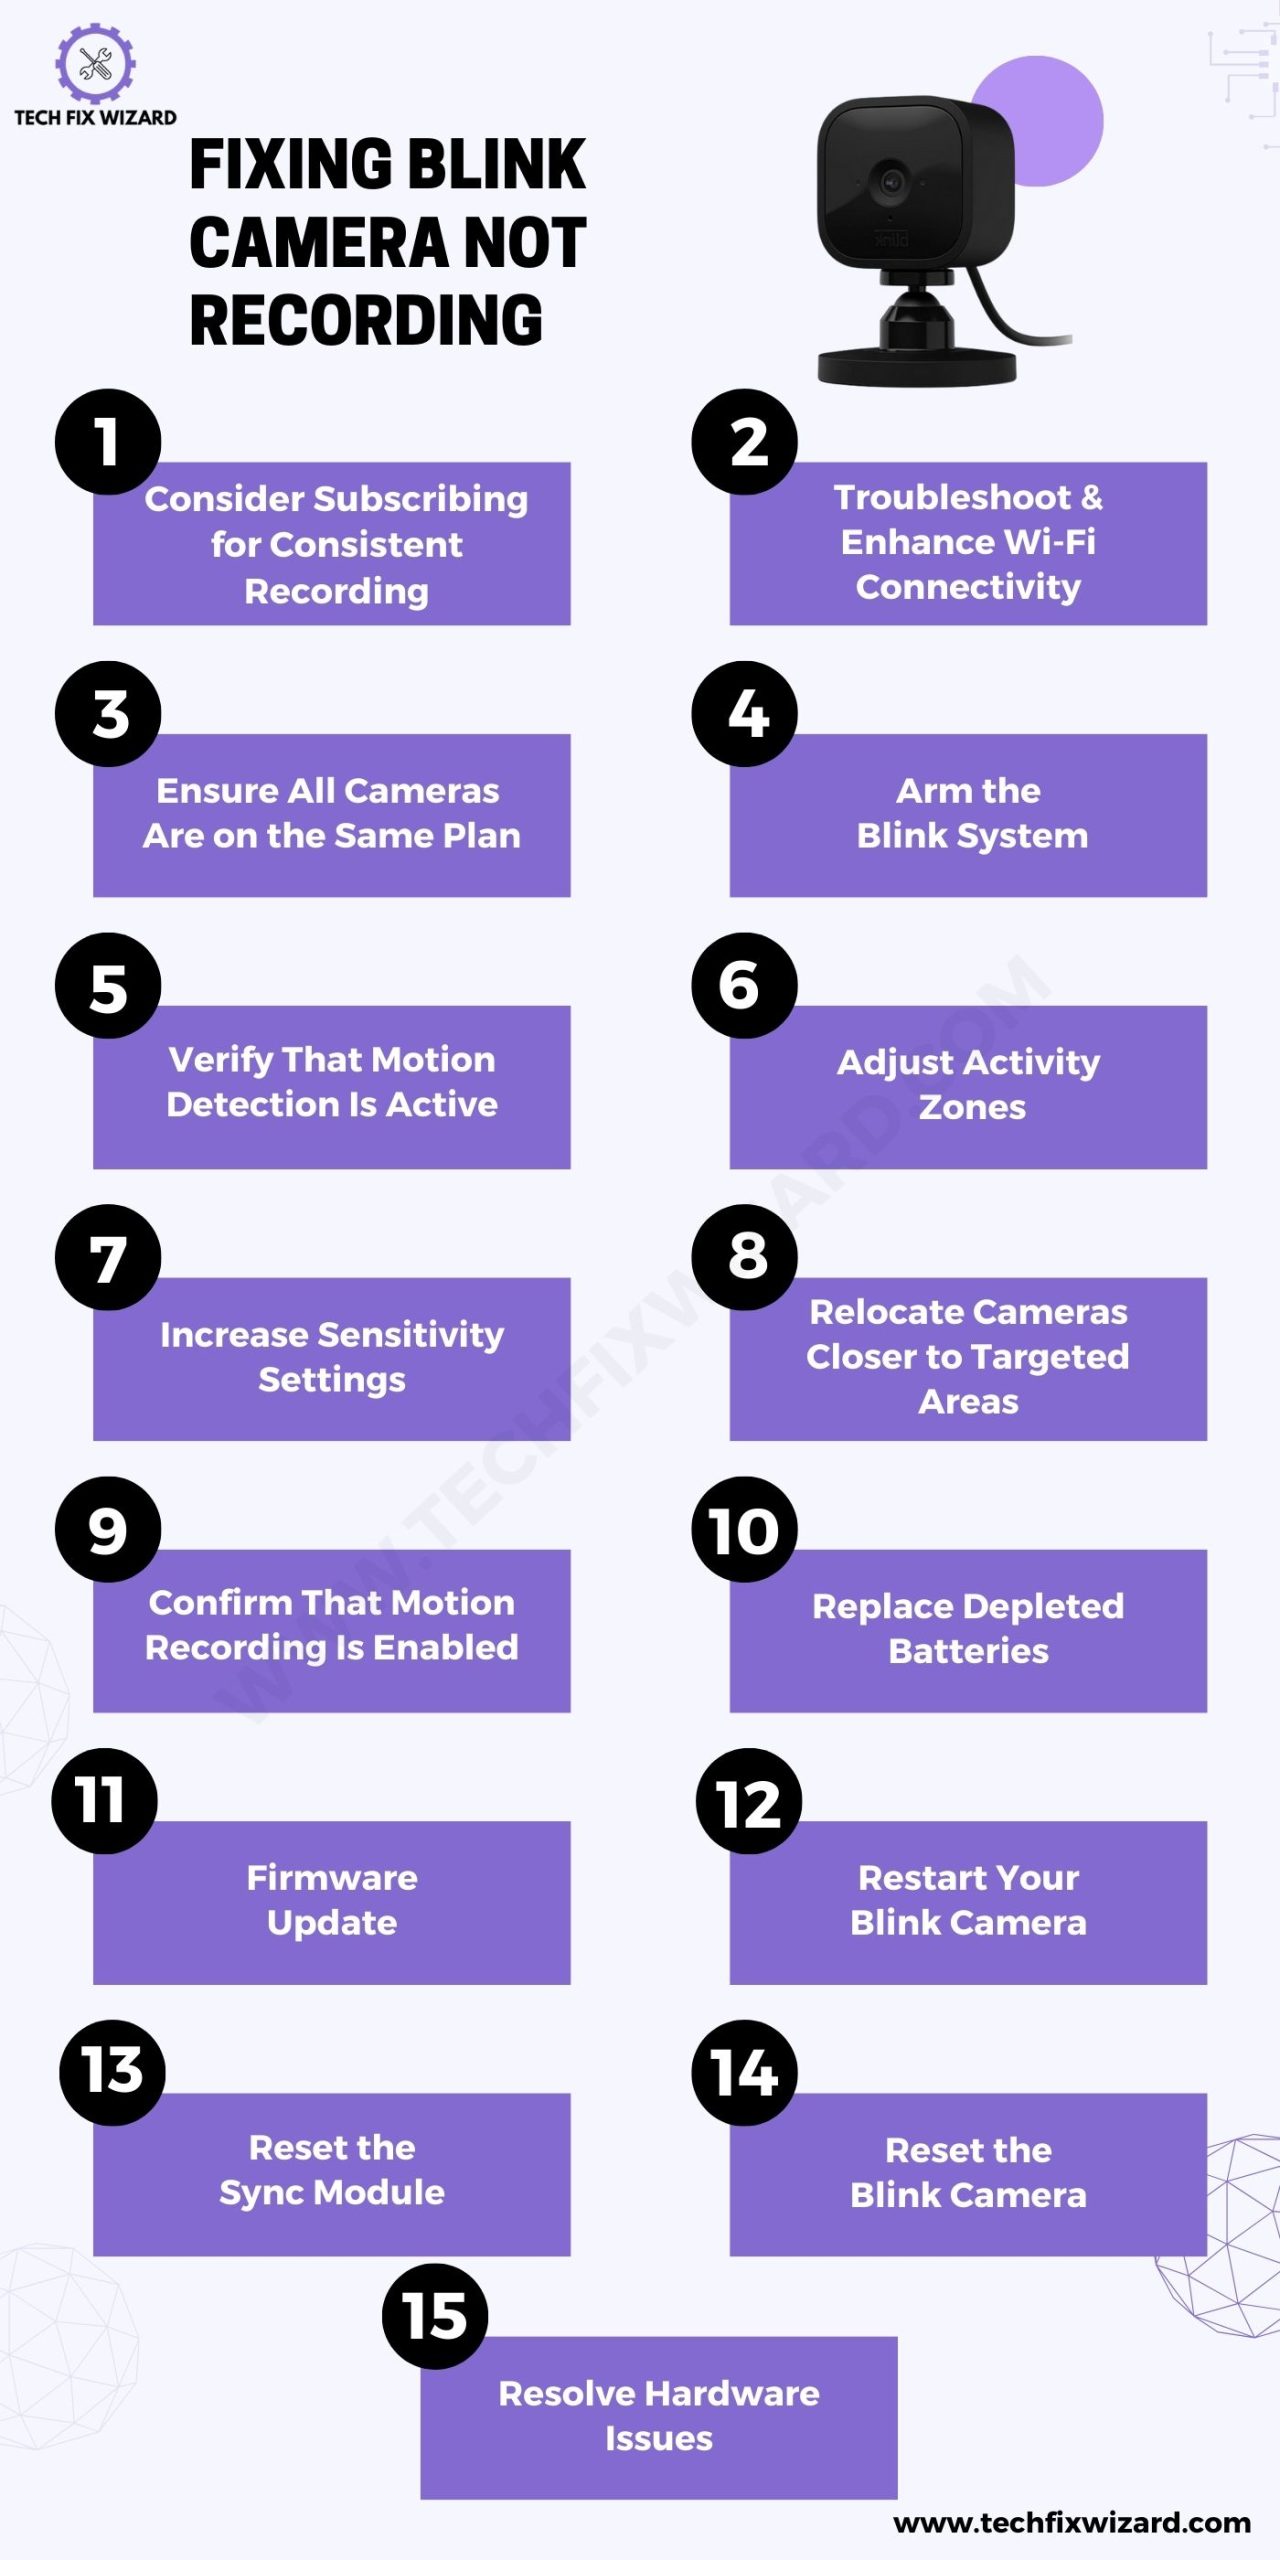
1. Consider Subscribing for Consistent Recording
Subscription plans offered by Blink provide a reliable solution for ensuring consistent recording when motion is detected.
With a subscription plan in place, you can rely on your camera to record whenever there’s motion, offering you peace of mind that important events will be captured.
We highly recommend you consider purchasing a subscription plan because it ensures you never miss out on any important recordings.
Also Read: Blink Camera Not Connecting To Wi-Fi – 10 Steps To Get It Connected
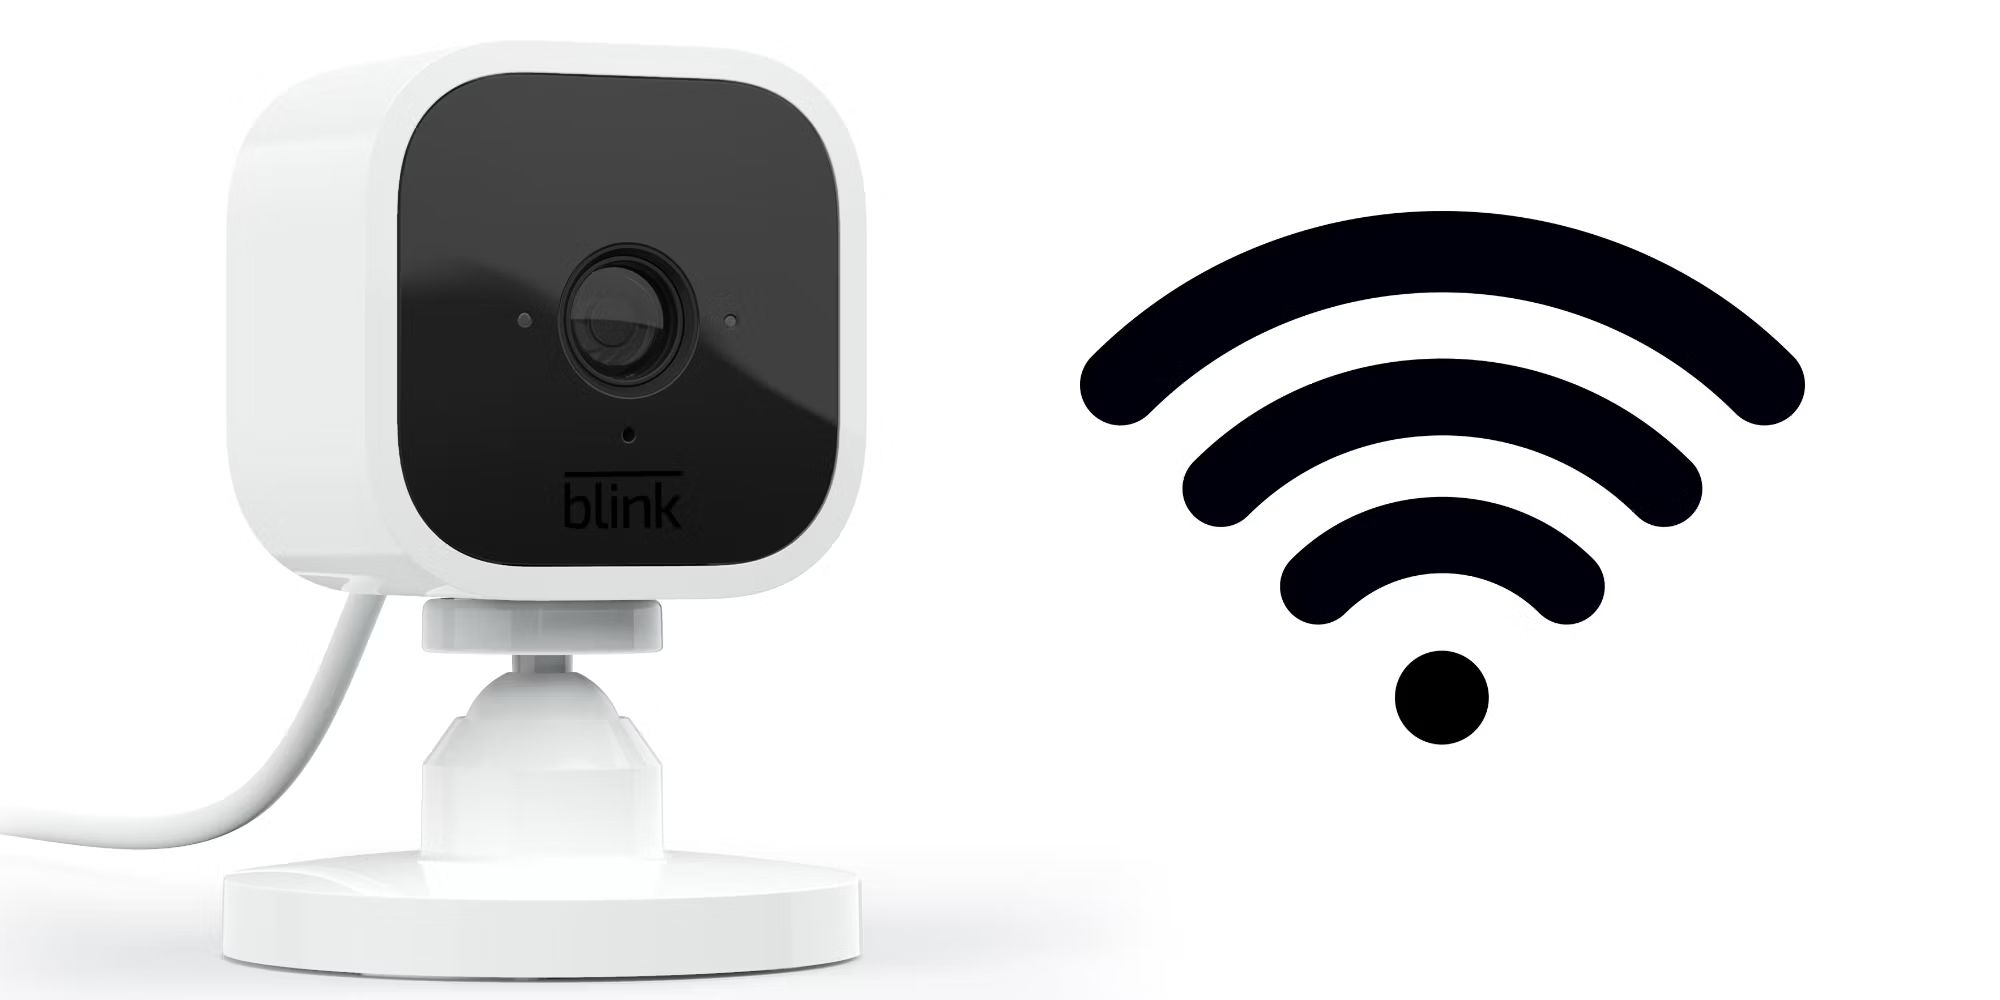
2. Troubleshoot and Enhance Wi-Fi Connectivity
The stability of your camera’s Wi-Fi connection is crucial for proper motion detection and recording. When Wi-Fi connectivity is poor or intermittent, it can lead to missed recordings and unreliable performance.
So what you need to do is:
- Troubleshoot any Wi-Fi issues by ensuring that your camera is within the range of a strong Wi-Fi signal.
- Consider relocating your Wi-Fi router or adding Wi-Fi extenders to enhance coverage in areas where Blink cameras are installed.
- Make sure that your camera is connected to the correct Wi-Fi network with the appropriate credentials.
- Regularly checking and improving Wi-Fi connectivity is essential to maintain the effectiveness of your Blink camera system.
3. Ensure All Cameras Are on the Same Plan
When you have a combination of cameras with varying subscription plans, it’s essential to streamline them onto the same plan.
Mixing plans can lead to complications, such as non-subscription cameras ceasing to record to align with subscription settings.
By having all your cameras on the same plan, you eliminate the risk of this issue occurring. This simplifies management and ensures consistent recording across all cameras, providing a hassle-free experience.
Whether you opt for a subscription plan or not, the key is uniformity in your Blink camera system to avoid disruptions in recording and maintain security effectiveness.
4. Arm the Blink System
For Blink cameras to effectively record when motion is detected, it’s imperative to have your Blink system armed. When the system is disarmed, the cameras won’t initiate recordings, even if they detect motion.
There are two ways to select arm mode on a Blink camera:
Using the Blink app:
- Open the Blink app.
- Tap the Menu icon in the top left corner.
- Tap Settings.
- Select the camera you want to arm.
- Tap Arm/Disarm.
- Tap Arm.
Using the Blink Sync Module:
- Press the Arm button on the Sync Module.
Once you have armed your Blink cameras, they will start recording video when they detect motion. You will also receive notifications on your smartphone if any motion is detected.
5. Verify That Motion Detection Is Active for Each Camera
Motion detection must be enabled for each Blink camera that you want to record when motion is detected.
If motion detection is not enabled for a particular camera, then that camera will not record video, even if it is armed.
You can easily verify the status of motion detection for each camera by:
- Open the Blink app.
- Tap the Menu icon in the top left corner.
- Tap Settings.
- Select the camera you want to check.
- Tap Motion Detection.
A blue running man icon indicates that motion detection is active, while a grayed-out icon signifies that it’s turned off.
6. Adjust Activity Zones to Cover Desired Areas
Blink allows you to define activity zones to specify where motion detection should occur. Properly configuring these zones is essential to ensure that motion in the areas of interest triggers recordings.
If the activity zones are not set up correctly, then the camera may not record motion in areas that you want to monitor.
For example, if you have an activity zone set up to cover your driveway, but the camera is also pointed at the street, then the camera may be triggered by passing cars and not recording when someone walks up to your driveway.
Take some time to review and fine-tune your activity zones to fit your particular requirements. This customization ensures that your Blink cameras record motion events precisely where you want them to.
To adjust activity zones, follow these steps:
- Open the Blink app.
- Tap the Menu icon in the top left corner.
- Tap Settings.
- Select the camera you want to adjust the activity zones for.
- Tap Motion Settings.
- Tap Activity Zones.
7. Increase Sensitivity Settings for Reliable Detection
Increasing the sensitivity settings can be necessary to prevent Blink Camera from recording issues. However, it is important to strike a balance between sensitivity and false positives.
If the sensitivity is set too high, the camera may be triggered by small movements, such as leaves blowing in the wind or cars driving by. This can lead to a lot of unnecessary notifications and drain the camera’s battery.
To find the right sensitivity level for your camera, consider the following factors:
- Location: Cameras that are located in areas with a lot of movement, such as busy streets or sidewalks, will need a lower sensitivity setting than cameras that are located in quieter areas.
- Surroundings: Cameras that are surrounded by trees or other objects that move in the wind may need a lower sensitivity setting than cameras that are located in open areas.
Carefully assess your camera’s location and surroundings to determine the appropriate sensitivity level.
Our Hot Picks:
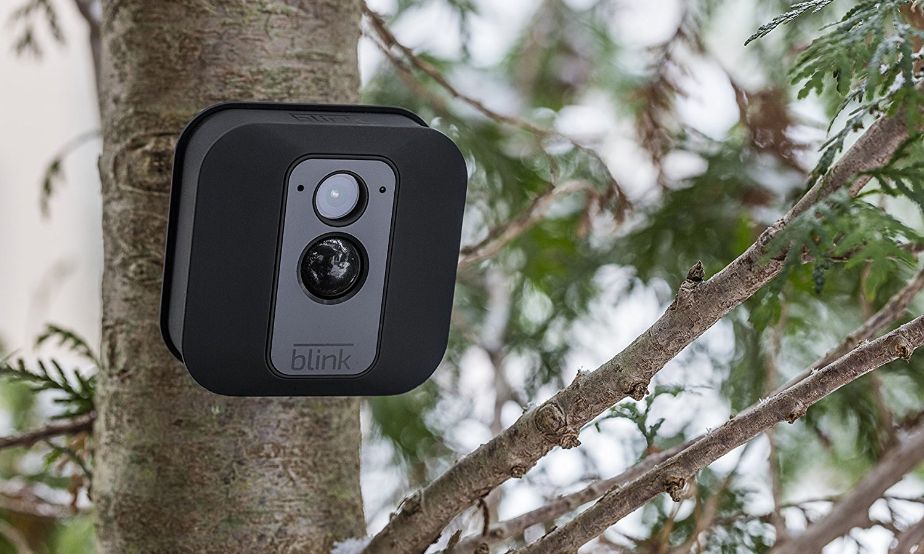
8. Relocate Cameras Closer to Targeted Areas
Blink cameras have a limited range of motion detection. If your camera is positioned too far from the area where you expect motion, it may fail to detect events effectively, thus preventing the normal recording of those areas.
To solve this, consider relocating the camera closer to the targeted areas. By optimizing the placement of your cameras, you ensure that motion within their detection range triggers reliable recordings.
This adjustment maximizes the effectiveness of your Blink camera system and minimizes the chances of missing critical events.
9. Confirm That Motion Recording Is Enabled
Double-checking that motion recording is enabled in your camera settings is crucial to ensure that your Blink camera functions as expected.
Even if motion detection is active, recordings won’t occur if motion recording is disabled. By verifying this setting, you confirm that your camera is set up to record when motion is detected.
10. Replace Depleted Batteries
Dead or low batteries can lead to recording issues, as the camera may not function correctly. Therefore, proper maintenance of your Blink camera includes monitoring the status of its batteries.
Regularly check the battery status of your cameras and replace any depleted batteries with fresh ones.
This simple maintenance step ensures that your cameras have the power they need to operate effectively and consistently record motion-triggered events.
11. Firmware Update
A firmware update can be a way to resolve the Blink camera not recording issue. Firmware updates often include bug fixes and performance improvements, so it is possible that a firmware update could fix a bug that is preventing your camera from recording.
To update your Blink camera firmware, follow these steps:
- Tap the Menu icon in the Blink app.
- Tap Settings.
- Select the camera you want to update.
- Tap Device.
- Tap Firmware.
- Tap Check for Updates.
If there is a firmware update available, it will be downloaded and installed automatically. Once the firmware update is complete, your camera will restart.
After the camera has restarted, try recording the video again to see if the issue has been resolved.
12. Restart Your Blink Camera
Restarting your Blink camera is a simple and effective solution for resolving minor software glitches. Just like with any electronic device, sometimes the camera’s software can encounter small issues that impact its performance.
By restarting the camera, you essentially give it a fresh start, and it can often resolve these minor hiccups.
To restart your Blink camera, you can either unplug it and plug it back in, or you can restart it through the Blink app.
To restart your Blink camera through the Blink app:
- Blink App > Menu > Settings.
- Select the camera you want to restart.
- Tap Device > Restart.
13. Reset the Sync Module
Next, attempt to reset the sync module to see if it resolves the recording issues. It’s important to note that this step will not erase any data from your device.
To reset the sync module:
- Locate the reset button on the sync module.
- Press and hold the reset button on the sync module until you see the LED blinking red.
- Release the button and wait for the LED to blink green and blue.
- The sync module is now in setup mode.
- Delete the sync module from your Blink app.
After this, you will need to add it to your Blink account again. To do this, follow these steps:
- Open the Blink app.
- Tap the Menu icon in the top left corner.
- Tap Settings.
- Tap System.
- Tap Sync Modules.
- Tap Add Sync Module.
- Follow the instructions in the app to add your Sync Module.
14. Reset the Blink Camera
Resetting your Blink camera to factory settings is a drastic step and should be used as a last resort.
This action erases all your camera’s settings and video clips, essentially returning it to its initial state when you first set it up.
You may consider this option if you’ve exhausted all other troubleshooting methods and still encounter persistent issues.
To reset your Blink camera,
- Delete the camera from the app.
- Inside the camera, Locate a reset button.
- To initiate a factory reset, remove one of the camera’s batteries.
- While the battery is removed, press and hold the reset button.
- With the reset button held down, reinsert the battery.
- Continue holding the reset button briefly before releasing it.
- After performing these steps, you should see the camera’s infrared light flash red.
- This indicates that the factory reset process has started.
- Once the infrared light flashes red, you can release the reset button.
15. Resolve Hardware Issues
If you suspect that your Blink camera isn’t recording due to hardware issues, there are several options you can consider to address and resolve the recording problems with your camera.
1. Inspect Camera Connections: Ensure that all cables, connectors, and power sources related to the camera are functioning correctly. Sometimes, loose connections can cause hardware problems.
2. Contact Blink Support: You can reach out to Blink’s customer support for assistance.
3. Check Warranty: Determine if your Blink camera is still under warranty. If it is, you may be eligible for a replacement or repair at no cost, depending on the terms of the warranty.
Read: Tapo Camera Not Connecting To WiFi – 15 Quick Steps To Consider
FAQs
1. Why is my Blink camera not recording?
There could be several reasons why your Blink camera isn’t recording. Ensure that it’s armed, motion detection is enabled, and motion sensitivity settings are adequate. Also, check if your camera has internet connectivity and whether your subscription plan is active.
2. Why is my Blink not saving videos?
If your Blink camera isn’t saving videos, verify that you have sufficient storage space, either in the cloud or on an external USB drive. Ensure your subscription plan includes video storage and the storage drive is correctly formatted.
3. How do I get my Blink camera to record motion?
To get your Blink camera to record motion, make sure it’s armed, motion detection is enabled, and sensitivity settings are appropriately configured. Ensure a reliable internet connection and an active subscription plan if required.
4. Why is my Blink camera not recording at night?
If your Blink camera isn’t recording at night, confirm that night vision mode is enabled in the settings. Ensure that there’s enough ambient or infrared light for the camera to detect motion in the dark.
5. Is Blink recording all the time?
No, Blink cameras do not record continuously. They only record when motion is detected, or you manually initiate a recording through the app.
6. Do Blink cameras work in the dark?
Yes, Blink cameras are equipped with night vision capabilities, allowing them to capture video in low-light and dark conditions.
7. How can I make my Blink camera better at night?
To enhance your Blink camera’s performance at night, ensure night vision is enabled, position the camera in areas with minimal obstructions, and ensure that the infrared lights on the camera are not obstructed.
8. What distances can Blink cameras see?
Blink cameras typically have a range of up to 20 to 30 feet for motion detection, but this can vary depending on environmental factors and camera models.
9. How long do Blink cameras last?
Blink camera battery life varies based on usage, but they are designed to last for several months on a single set of batteries. Wired options offer continuous power.
10. Are Blink cameras waterproof?
Blink cameras are weather-resistant, but not fully waterproof. They can withstand rain and outdoor conditions but should not be submerged or exposed to heavy water.
11. Do Blink cameras work without WiFi?
Blink cameras rely on WiFi for live viewing and remote access but can still capture video when offline. However, they need a connection to upload recorded clips to the cloud.
12. Can you replace Blink batteries?
Yes, Blink camera batteries are replaceable, and it’s recommended to use Blink’s specified batteries for optimal performance.
13. How far can Blink camera detect night vision?
Blink cameras can detect night vision within their specified range of up to 20 to 30 feet in low-light or dark conditions.
14. Will a Blink camera work through a window?
Yes, Blink cameras can work through a window, but be mindful of potential glare or reflections that may affect image quality.
15. What is dark mode on Blink camera settings?
Dark mode in Blink camera settings typically refers to a nighttime recording mode that uses infrared lights for night vision while keeping the camera inconspicuous in the dark.

John Paul is a tech enthusiast dedicated to troubleshooting. He is passionate about fixing glitches, simplifying complexities, and empowering others in the digital realm.