Are you experiencing Tesla not charging at Volta issue? Don’t worry, we’ve got you covered with some helpful solutions to get you back on the road.
In this article, we will guide you through several troubleshooting steps to identify and fix the issue that may be preventing your Tesla from charging at Volta charging stations.
Contents
- 1 How to Use Volta Charging Station?
- 2 Troubleshooting Tesla Not Charging At Volta
- 3 1. Checking if the Volta Charger Not Working
- 4 2. Inspecting the Charging Cable & Connector for Physical Damage
- 5 3. Verifying the Charging Station Compatibility
- 6 4. Resetting the Charging Settings on Your Tesla
- 7 5. Checking the Charging Station Status
- 8 6. Ensuring Sufficient Power Supply
- 9 7. Considering Alternative Charging Options
- 10 FAQs
- 11 1. How do I check if the charging cable and connector are working properly?
- 12 2. What should I do if the charging station is not compatible with my Tesla?
- 13 3. How can I reset the charging settings on my Tesla?
- 14 4. How do I check the status of the charging station?
- 15 5. What should I do if there is not enough power supply for my Tesla to charge?
- 16 6. Does Volta charging work for Tesla?
- 17 7. Why won’t my Tesla charge at a charging station?
- 18 8. Why is my Tesla not charging at home?
- 19 9. How do I report a problem with Volta charging?
How to Use Volta Charging Station?
Before we talk about fixing problems, let’s learn how to use a Volta charging station. Think of it like getting ready before solving a puzzle.
Knowing how to use Volta stations well helps us charge our Tesla smoothly. This way, when problems come up, we’ll be ready to solve them and keep moving forward.
Here are the steps on how to use a Volta charging station:
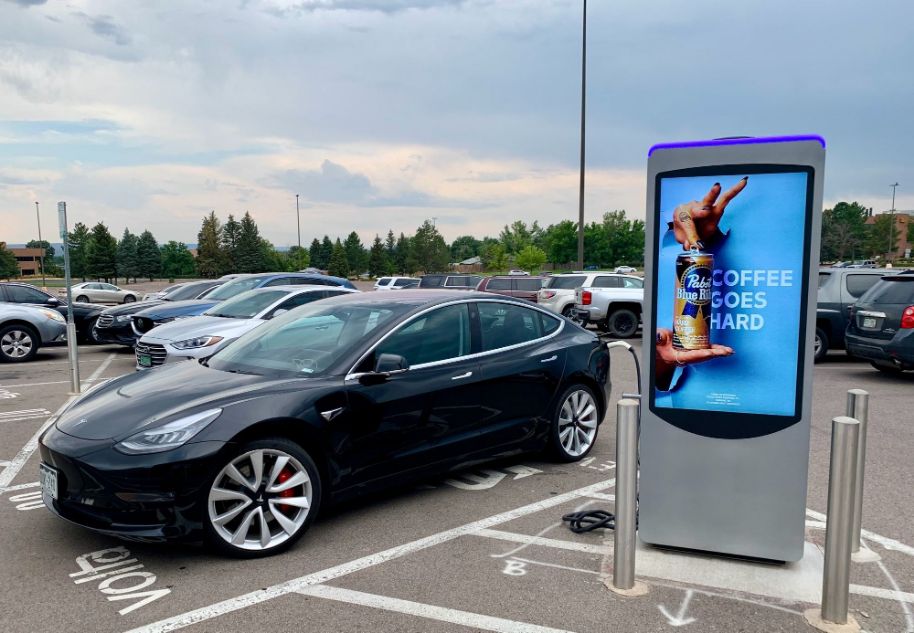
- Locate a Volta charging station. You can use the Volta app to find a charging station near you.
- Park your car in front of the charging station. Make sure that your car is in Park mode.
- Plug in your car to the charging station. The charging cable is typically located on the side of the charging station.
- Start charging. Your Tesla will automatically start charging once the charging cable is plugged in.
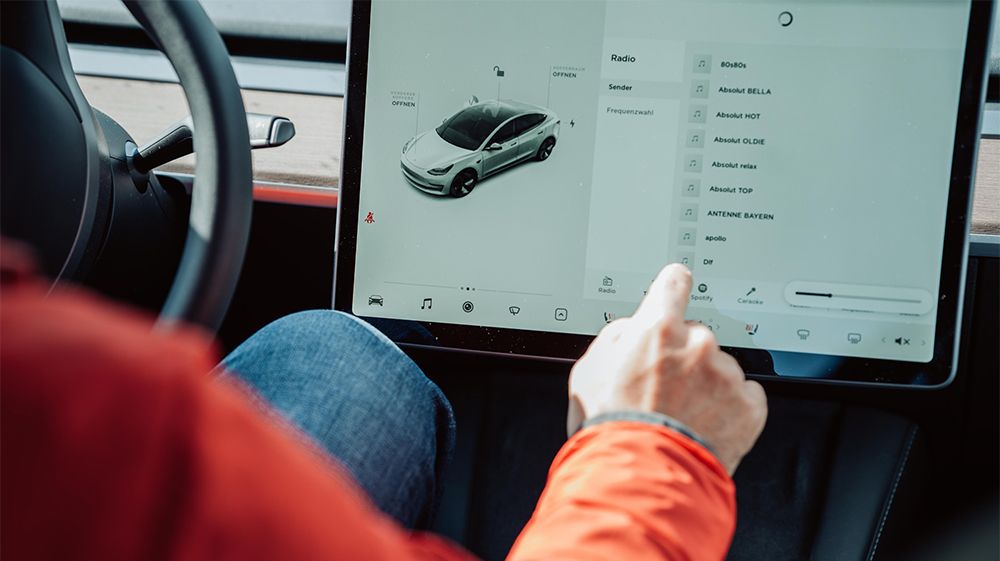
- Monitor your charging progress. You can monitor your charging progress on your Tesla’s touchscreen.
- Disconnect your car when it is fully charged. Your Tesla will automatically disconnect from the charging station when it is fully charged.
Troubleshooting Tesla Not Charging At Volta
Next, let’s explore how to fix the puzzle of your Tesla not charging at a Volta station.
By learning these troubleshooting steps, you’ll be ready to uncover and solve this issue. Let’s get started!

1. Checking if the Volta Charger Not Working
Before delving into complex solutions, let’s begin with the basics. It’s essential to confirm that the foundation is solid.
Ensure that the Volta charging cable is securely connected to both the charging station and your Tesla’s charging port. Sometimes, a seemingly trivial loose connection can lead to disruptions in the charging process.
To be certain, give the cable a gentle wiggle to ensure it’s snugly in place.
2. Inspecting the Charging Cable & Connector for Physical Damage
Another crucial step is to meticulously inspect the charging cable for any visible signs of damage or wear. Carefully examine the cable for frayed wires, bent pins, or any other irregularities that could potentially be hindering the charging process.
If you happen to spot anything out of the ordinary, it might be prudent to replace the cable with a new one.
Furthermore, direct your attention to the connectors on both ends of the cable. These connectors play a pivotal role in establishing a proper connection between the charger and your vehicle.
Ensure that there are no obstructions such as dirt or debris that could compromise this connection. If necessary, employ a soft cloth to clean the connectors and guarantee optimal contact.
Read More: Should I Charge My Tesla To 100 Or Not? Answering Common Queries
3. Verifying the Charging Station Compatibility
Moving forward, let’s tackle the aspect of compatibility. It’s akin to ensuring that the puzzle pieces fit seamlessly.
In this case, the puzzle pieces are your Tesla and the Volta charging station. Imagine yourself meticulously examining the charging station’s specifications. Look for any specific requirements outlined by Tesla for their charging stations.
These requirements might encompass details like voltage, amperage, or connector type.
Additionally, it’s noteworthy that Volta Level 2 charging stations can be used with the Tesla adapter SAE J1772 that you get with the vehicle.

4. Resetting the Charging Settings on Your Tesla
Now that we’ve addressed the physical aspects, it’s time to do some optimization through a settings reset. This step is to give your Tesla’s charging system a refreshing reset.
Here are the steps on how to reset the charging settings on your Tesla:
- Open the Tesla app.
- Tap on the Car tab.
- Tap on Settings.
- Tap on Charging.
- Tap on Reset Charging Settings.
- Enter your Tesla PIN code.
- Tap on Reset.

You Might Also Like:
5. Checking the Charging Station Status
With your Tesla now optimized, let’s direct our attention to the charging station itself. This step involves assessing the charging station’s operational status and ensuring that all its components are functioning as intended.
Here are the steps on how to check the status of a Volta charging station in the Volta app:
- Open the Volta app.
- Tap on the Map tab.
- Find the charging station that you are having trouble with.
- Tap on the charging station.
- The charging station’s status will be displayed below the charging station’s name.
The charging station’s status can be one of the following:
- Available: The charging station is available and ready to use.
- Charging: The charging station is currently charging a car.
- Unavailable: The charging station is not available due to maintenance or a technical issue.
- Full: The charging station is full and there are no available charging ports.
If the charging station’s status is Unavailable or Full, then your Tesla will not be able to charge at that charging station. You will need to find a different charging station.
6. Ensuring Sufficient Power Supply
Level 2 charging stations require a minimum of 40 amps of power to operate. If the power supply to the charging station is not sufficient, your Tesla will not be able to charge.
So, the next step is to ensure that Volta has sufficient power to charge your Tesla. You can check the power supply to the charging station by looking at the charging station’s display.
The charging station’s display should show the current power draw and the maximum power draw. If the current power draw is close to the maximum power draw, then the power supply to the charging station may not be sufficient.
If the power supply to the charging station is not sufficient, you will need to contact the property owner or manager of the location where the charging station is located. The property owner or manager may be able to increase the power supply to the charging station.
If you are still having trouble charging your Tesla at a Volta charging station, you can contact Volta customer support for help.
7. Considering Alternative Charging Options
If the above troubleshooting did not resolve your issue of your Tesla not charging at Volta, it may be time to consider alternative charging options.
Here are a few alternative charging options to consider:
- Public Charging Stations: Many cities feature public charging stations, conveniently placed in parking lots or garages. Locate them via online maps or EV charging apps for hassle-free Tesla charging away from home.
- Destination Charging: Hotels, eateries, and malls often offer destination charging. While slower, these spots provide effective charging during your outings.
- Other Charging Networks: Beyond Tesla’s Superchargers, networks like ChargePoint and EVgo broaden your charging choices. Embrace these options to tackle challenges with specific providers like Volta.
Exploring these alternative options can help ensure that you have reliable access to charging infrastructure even if there is an issue with one particular provider.
Hot Pick: How To Fix Tesla Touchscreen Not Working – Here’s How To Fix It!
FAQs
1. How do I check if the charging cable and connector are working properly?
To check if your charging cable and connector are working properly, start by visually inspecting them for any damage or loose connections. Then, try using the cable and connector with a different charging station to see if it works.
2. What should I do if the charging station is not compatible with my Tesla?
If the charging station is not compatible with your Tesla, you should try finding a different charging station that is compatible. Check online or use apps to locate stations that support your vehicle’s charging needs.
3. How can I reset the charging settings on my Tesla?
To reset the charging settings on your Tesla, go to the vehicle’s touchscreen display and navigate to the charging menu. From there, you can select the option to reset or restore the charging settings.
4. How do I check the status of the charging station?
To check the status of the charging station, simply look for a display screen or indicator lights on the station. These will provide information about its availability and whether it is currently in use.
5. What should I do if there is not enough power supply for my Tesla to charge?
If there isn’t enough power supply for your Tesla to charge, you should try finding a different charging station or wait until the power supply is sufficient.
6. Does Volta charging work for Tesla?
Yes, Volta charging stations are suitable for Tesla vehicles, but it’s crucial to verify that the station offers the correct connector type and charging rate for your Tesla model.
7. Why won’t my Tesla charge at a charging station?
When your Tesla isn’t charging at a station, it could be due to incompatible connectors, communication issues between your car and the station, network or app problems, or even a malfunctioning station.
8. Why is my Tesla not charging at home?
If your Tesla isn’t charging at home, examine your power supply for stability, check the condition of your charging cable, confirm your Tesla’s charging settings, and consider restarting the system in case of software glitches.
9. How do I report a problem with Volta charging?
To report an issue with Volta charging, access their official website or app for contact details. Reach out to their customer support with specific information about the station’s location, your Tesla model, the problem encountered, and any error messages displayed on your vehicle’s screen. This information aids in a swift resolution.

John Paul is a tech enthusiast dedicated to troubleshooting. He is passionate about fixing glitches, simplifying complexities, and empowering others in the digital realm.

