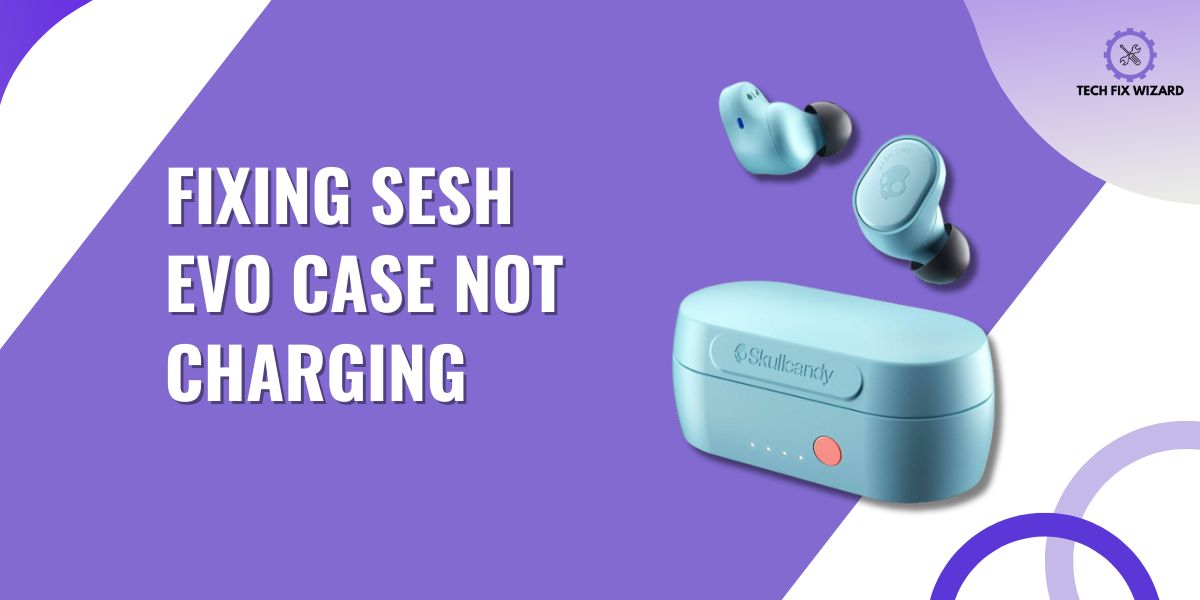
In today’s rapidly evolving technological landscape, wireless earbuds have become an integral part of our daily lives, offering convenience and immersive audio experiences.
Among the popular options available, the Sesh Evo case stands out for its sleek design and advanced features. However, even the most advanced devices can encounter hiccups, and one common issue users might face is a Sesh Evo case not charging.
In this guide, we will delve into the possible reasons behind this problem and explore troubleshooting steps to help you revive your Sesh Evo case and get back to enjoying your favorite tunes without interruption.
Contents
- 1 7 Effective Steps to Resolve Sesh Evo Case Not Charging
- 2 1. Try a Different Power Outlet
- 3 2. Check the Charging Cable
- 4 3. Check the Charging Case for Physical Damage
- 5 4. Inspect and Clean the Charging Port
- 6 5. Clean the Charging Contacts
- 7 6. Reset the Earbuds and Case
- 8 7. Draining the Battery
- 9 FAQs
- 10 1. How Do I Check if the Charging Cable Is Functioning Properly?
- 11 2. What Should I Do if the Charging Port Appears to Be Damaged?
- 12 3. Is It Necessary to Clean the Charging Contacts Regularly?
- 13 4. Can Update the Firmware of the Skullcandy Sesh Evo Case Help Fix Charging Problems?
- 14 5. Why Is My Earbud Charging Case Not Charging?
- 15 6. How Do I Know If My Sesh Evo Case Is Charging?
7 Effective Steps to Resolve Sesh Evo Case Not Charging
By following the effective steps given below, you can work towards resolving the issue and getting your earbuds back to peak performance.
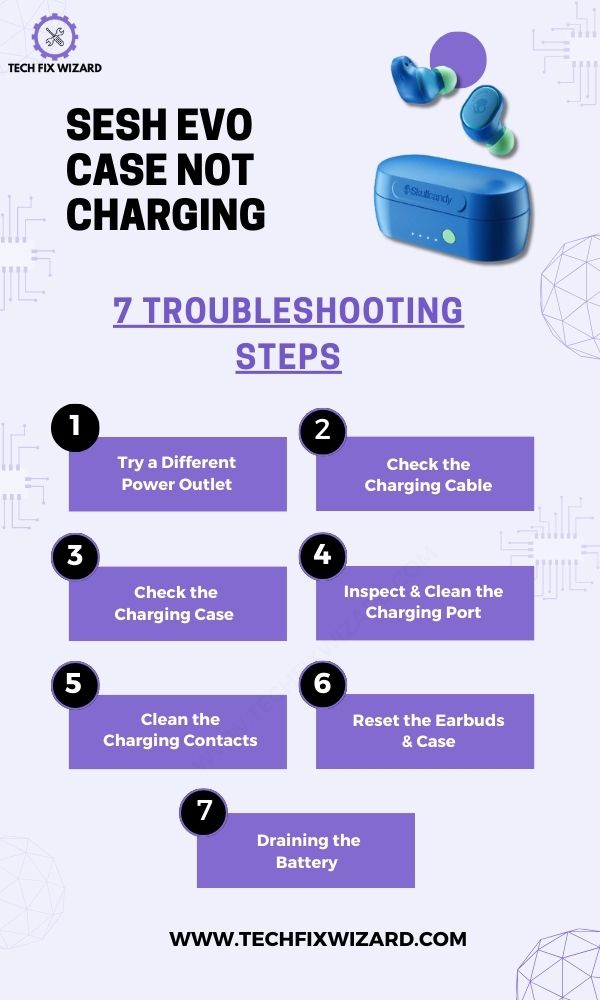
1. Try a Different Power Outlet
To initiate the troubleshooting process for the charging issue with your Skullcandy Sesh Evo case, the primary step is to try utilizing an alternative power source.
Similarly, it’s essential to recognize that the problem could potentially stem from the current power adapter in use.
Before proceeding to further steps, ensure to eliminate these two factors as potential causes of the issue.
Here’s what to do:
- Disconnect your current power source from the charging cable.
- Employ an alternative adapter and plug that you know is functional and compatible.
- Ensure that the chosen power source can provide the necessary voltage and current for your case’s charging requirements.
If the case still isn’t charging even with the new power source, proceed to examine another crucial element—the charging cables themselves. Sometimes, the issue might be due to a faulty or damaged cable.
Also Read:
2. Check the Charging Cable
Now, you should check if the charging cable you are using is working properly. Sometimes, the issue lies with the cable itself and not with the case or earbuds.
- Begin by inspecting the cable for any visible damage such as frayed wires or bent connectors.
- Next, try using a different charging cable to see if it makes a difference.
If the new cable charges your Skullcandy Sesh Evo case without any problems, then you know that the original cable was faulty.
However, if the new cable doesn’t work either, then there may be an issue with either the case or the earbuds themselves.
In that case, move on to troubleshooting those components further to determine what might be causing the problem.
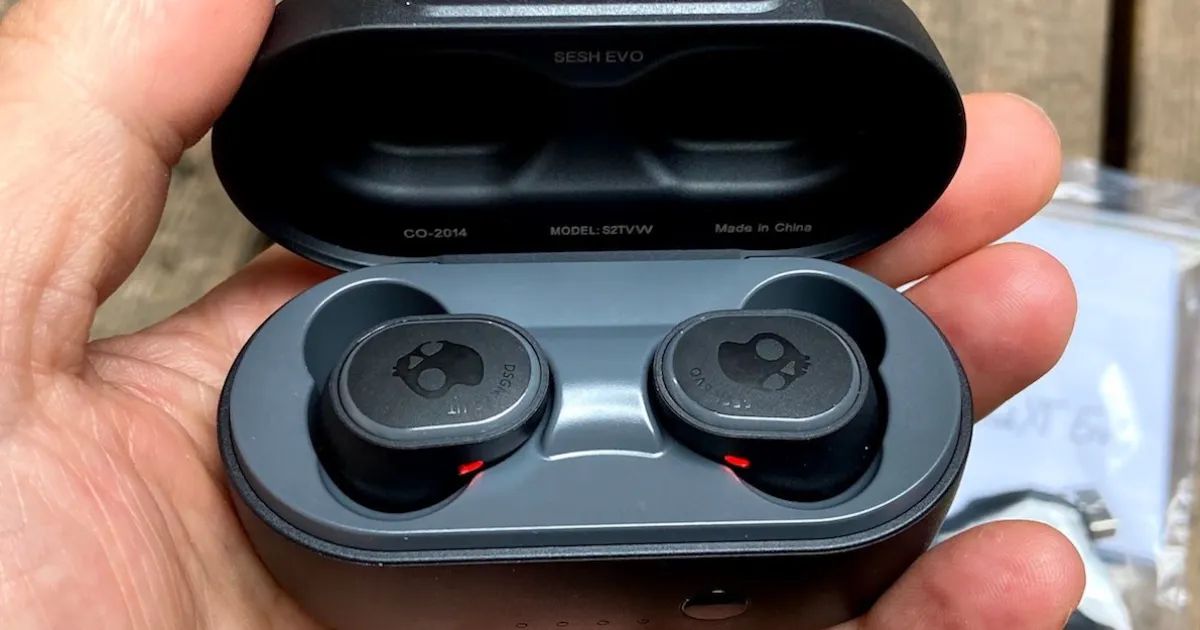
3. Check the Charging Case for Physical Damage
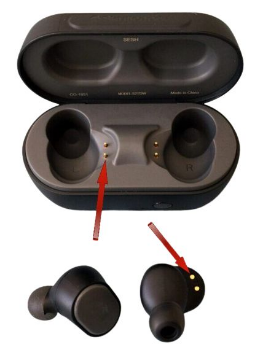
Another significant factor to consider is physical damage. Any physical damage to the case especially its charging port can adversely affect the case’s ability to charge the earbuds effectively.
Follow these steps to check for any visible harm to the charging case:
1. Inspect the Exterior:
Carefully examine the exterior of the charging case. Look for cracks, dents, or any signs of impact that might have compromised its structure.
2. Check the Charging Ports:
Inspect the charging ports on the case. Ensure there are no bent pins, debris, or obstructions that could hinder the charging connection.
3. Examine the Lid:
Assess the lid’s hinges and latch mechanism. Ensure they are functioning properly and not misaligned or broken, as this could prevent proper contact between the earbuds and charging pins.
4. Look for Indicator Lights:
If your case has charging indicator lights, observe their behavior when you place the earbuds inside. If they don’t light up or behave unexpectedly, it could indicate an internal issue.
5. Consider Recent Events:
Reflect on any recent incidents where the case might have been dropped, exposed to moisture, or subjected to any potentially damaging situations.
If you identify any physical damage during this inspection, Address it promptly.
Read Blog Posts:
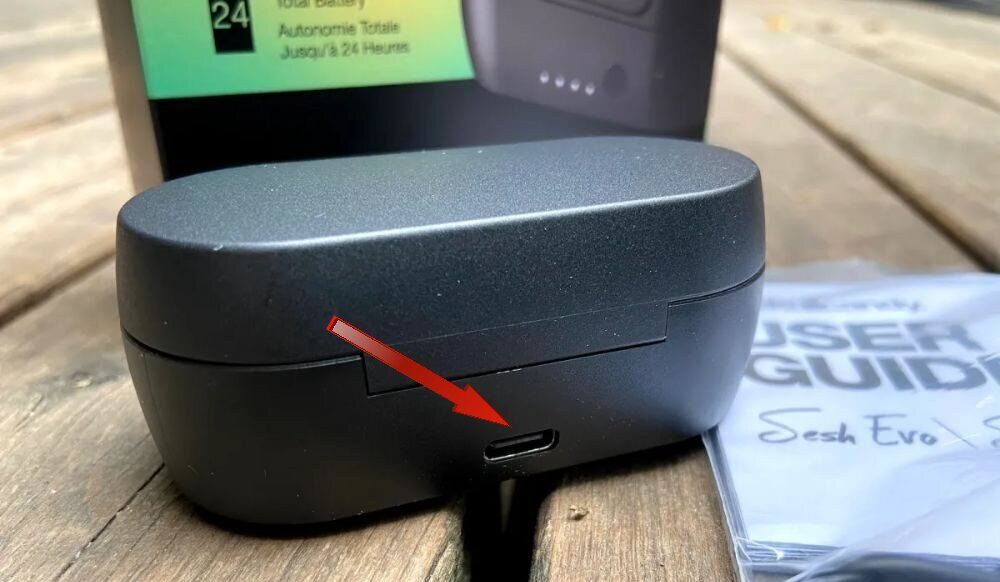
4. Inspect and Clean the Charging Port
Next, proceed to inspect the charging port for any debris or dust that might be obstructing a proper connection.
Dust and dirt can accumulate over time and hinder the connection between the charging cable and the port.
To address this:
- Visually inspect the charging port to see if there’s any debris or obstructions.
- If you find any debris, use a soft-bristled brush or compressed air to gently clean the port, ensuring not cause any damage.
- To dislodge stubborn particles, consider using a toothpick or a small brush.
- If necessary, employ a can of compressed air to blow out any remaining debris.
5. Clean the Charging Contacts
It’s important to clean the interior of earbuds, especially the charging contacts to see if it works.
- Start by gently wiping the contacts with a soft cloth or cotton swab to remove any dirt or grime.
- If there are stubborn stains or residues, you can dampen the cloth or swab with rubbing alcohol for a more thorough cleaning.
Consider Reading:
- How To Fix Oppo Enco W11 Not Charging – 7 Quick Troubleshooting Steps
- Jlab Earbuds Not Charging – Try These 7 Steps
6. Reset the Earbuds and Case
Now, consider performing a reset of your earbuds and case. It can prove to be a valuable troubleshooting step, potentially resolving issues related to charging, connectivity, and minor software glitches.
By following the below simple yet effective instructions, you can reset your Skullcandy Sesh Evo earbuds and case:
- Press the power button and remove the earbuds from the case.
- Hold down the top of both earbuds for 6 seconds and wait.
- Then, press and hold the top of the earbuds for 10 seconds.
- Place the earbuds back in the case and close it.
- Your earbuds are now ready to be synced with your phone.
- Access your phone’s Bluetooth settings and search for the “Sesh Evo” option.
- Select the “Sesh Evo” option to establish the connection between your phone and the earbuds.
7. Draining the Battery
Another effective step is intentionally draining the battery. This method has proven effective for numerous users and can help reset and recalibrate the earbuds’ internal systems.
Here’s how this step works:
Complete Discharge:
Remove the earbuds from their case and keep them outside the case. The earbuds will actively search for pairing options and initiate a shutdown sequence.
Given that the Sesh Evo earbuds boast up to 3 hours of continuous use, they will automatically turn off after this period.
If your troubleshooting attempts yield no results, it’s advisable to consider reaching out to Skullcandy’s customer support for further assistance.
FAQs
1. How Do I Check if the Charging Cable Is Functioning Properly?
To check if the charging cable is working, plug it into a different device or try using a different cable with your Skullcandy Sesh Evo case. If it charges successfully, then the issue might lie elsewhere.
2. What Should I Do if the Charging Port Appears to Be Damaged?
If the charging port appears to be damaged, there are a few things you can try. First, check for any debris or dirt that may be blocking the connection. If that doesn’t work, consider getting it repaired or replaced by a professional.
3. Is It Necessary to Clean the Charging Contacts Regularly?
Yes, it is necessary to regularly clean the charging contacts. Over time, dirt and debris can accumulate, hindering proper charging. Use a soft cloth or cotton swab to gently clean the contacts for better connectivity.
4. Can Update the Firmware of the Skullcandy Sesh Evo Case Help Fix Charging Problems?
Updating the firmware of your Skullcandy Sesh Evo case can potentially fix charging problems. It’s worth trying as it might resolve any software-related issues that could be causing the case not to charge properly.
5. Why Is My Earbud Charging Case Not Charging?
If your earbud charging case is not charging, there might be a few reasons for this. Check the charging cable and power source for any faults.
Make sure the charging contacts on the case and earbuds are clean and free from debris.
If you’ve confirmed these factors are not the issue, it’s possible the case’s battery or internal components are malfunctioning, and you should consider contacting the manufacturer’s support for assistance.
6. How Do I Know If My Sesh Evo Case Is Charging?
To confirm if your Sesh Evo case is charging, place it on a flat surface and connect it to a functional charging cable and power source.
The case should show some sign of charging, like an LED indicator light turning on or flashing. This light might change color or pattern to indicate the charging status.
Consult your user manual for specific details about the LED behavior and how to interpret it correctly. If you’re uncertain, you can also monitor the case’s battery level using your device’s Bluetooth settings when it’s connected.

John Paul is a tech enthusiast dedicated to troubleshooting. He is passionate about fixing glitches, simplifying complexities, and empowering others in the digital realm.