Among many wireless headphones, JLab headphones have gained recognition for their impressive sound quality and user-friendly features.
However, as with any electronic device, issues can arise, and one common concern users might encounter is their JLab headphones not charging.
In this article, we will delve into troubleshooting steps to help you get your headphones back up and running.
Contents
- 1
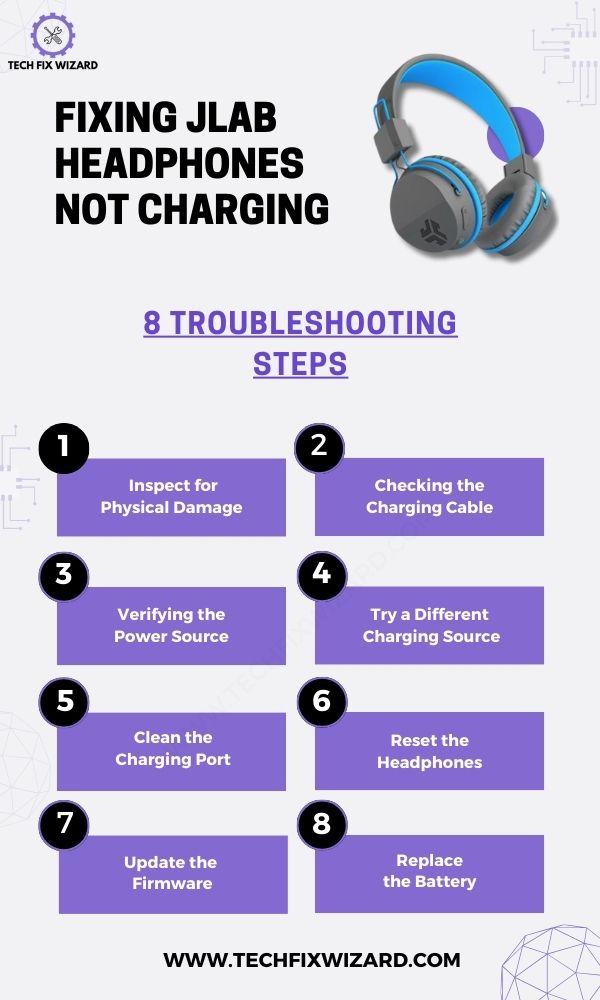
- 2 Fixing JLab Headphones Not Charging – 8 Steps
- 3 1. Inspect for Physical Damage
- 4 2. Check the Charging Cable
- 5 3. Verify the Power Source
- 6 4. Try a Different Charging Source
- 7 5. Clean the Charging Port
- 8 6. Reset the Headphones
- 9 7. Update the Firmware
- 10 8. Replace the Battery
- 11 FAQs
- 12 How Do I Know If My Jlab Headphones Are Not Charging?
- 13 Why Is It Important to Check the Charging Cable Before Troubleshooting Other Issues?
- 14 Can I Use a Different Power Source to Charge My Jlab Headphones?
- 15 How Often Should I Clean the Charging Port of My Jlab Headphones?
- 16 Is It Necessary to Update the Firmware of My Jlab Headphones Regularly?
- 17 What to Do if Jlab Headphones Won’t Charge?
- 18 How Do I Know if My Jlab Headphones Are Charging?
- 19 How Do I Reset My Jlab Earphones?
Fixing JLab Headphones Not Charging – 8 Steps
Let’s troubleshoot the issue at hand and get your JLab headphones charging again. In just 8 easy steps, we’ll uncover the root cause and restore the audio experience.
Let’s get started!
1. Inspect for Physical Damage
Before diving into troubleshooting steps, it’s essential to inspect your JLab headphones and their charging port for any physical damage.
Ensure there are no visible signs of wear, cracks, or other damage that might be affecting the charging process. Addressing physical damage can prevent additional complications during troubleshooting.
 Consider Reading:
- Jlab Earbuds Not Charging – Try These 7 Steps
- How To Fix Oppo Enco W11 Not Charging – 7 Quick Troubleshooting Steps
2. Check the Charging Cable
Now, verify the charging cable you’re using. Use only the cable specifically designed for your headphone model, as using an incompatible cable can lead to charging issues.
Examine the cable closely for any signs of damage, such as fraying or exposed wires, which can disrupt the connection. If you identify any damage, it’s advisable to replace the cable with a new one from JLab or an authorized retailer.
You Might Find Helpful:
- JLab Go Air Not Charging – Try These 6 Easy Solutions
- JLab Epic Air ANC Not Charging – 6 Steps You Should Try
3. Verify the Power Source
Next, assess the power source to ensure it’s not causing the charging problem. Start by securely connecting the charging cable to both the headphones and the power source.
Test the power source’s functionality by connecting another device to the same outlet or USB port. If that device charges successfully, the power source is likely not the issue.
4. Try a Different Charging Source
After verifying the original charging source try using different charging sources. Here’s how to proceed:
1. Use Different USB Ports:
If you’re charging your headphones via a computer or laptop, try switching to a different USB port on the same device.
Sometimes, certain USB ports might not provide sufficient power for charging, or they might have issues. Plugging the charging cable into a different USB port can help determine if the port is the culprit.
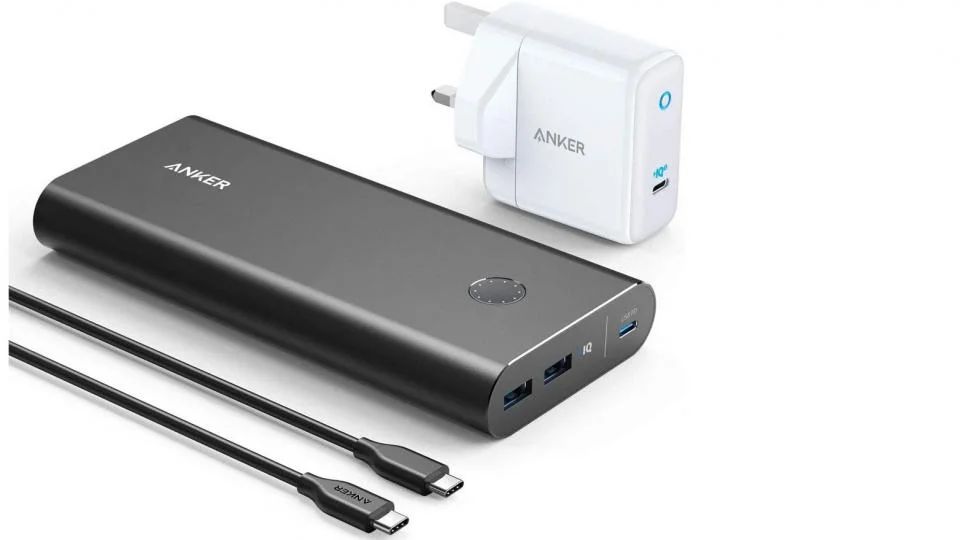
2. Try a Wall Charger:
To rule out any issues with the computer’s USB ports, connect the charging cable to a wall charger that you know is working. Use a standard USB wall adapter that’s compatible with your headphones’ charging cable.
Plug the adapter into a functioning power outlet. If your headphones start charging when connected to the wall charger, it indicates that the USB ports on your computer might be causing the problem.
3. Attempt a Portable Power Bank:
If you have a portable power bank, this is another excellent way to test if the headphones are receiving power. Connect your headphones to the power bank using the charging cable.
If your headphones start charging from the power bank, it’s a strong indicator that the original power source (such as your computer or wall outlet) might be the issue.
Trending Blog Posts: JLab Not Charging – 7 Quick Fixes To Resolve
4. Observe Charging Indicators:
During this process, pay close attention to any charging indicators on your headphones, if they have them.
Some headphone models might have LED lights or other indicators that show whether they are charging or not. These indicators can provide valuable information about the charging status.
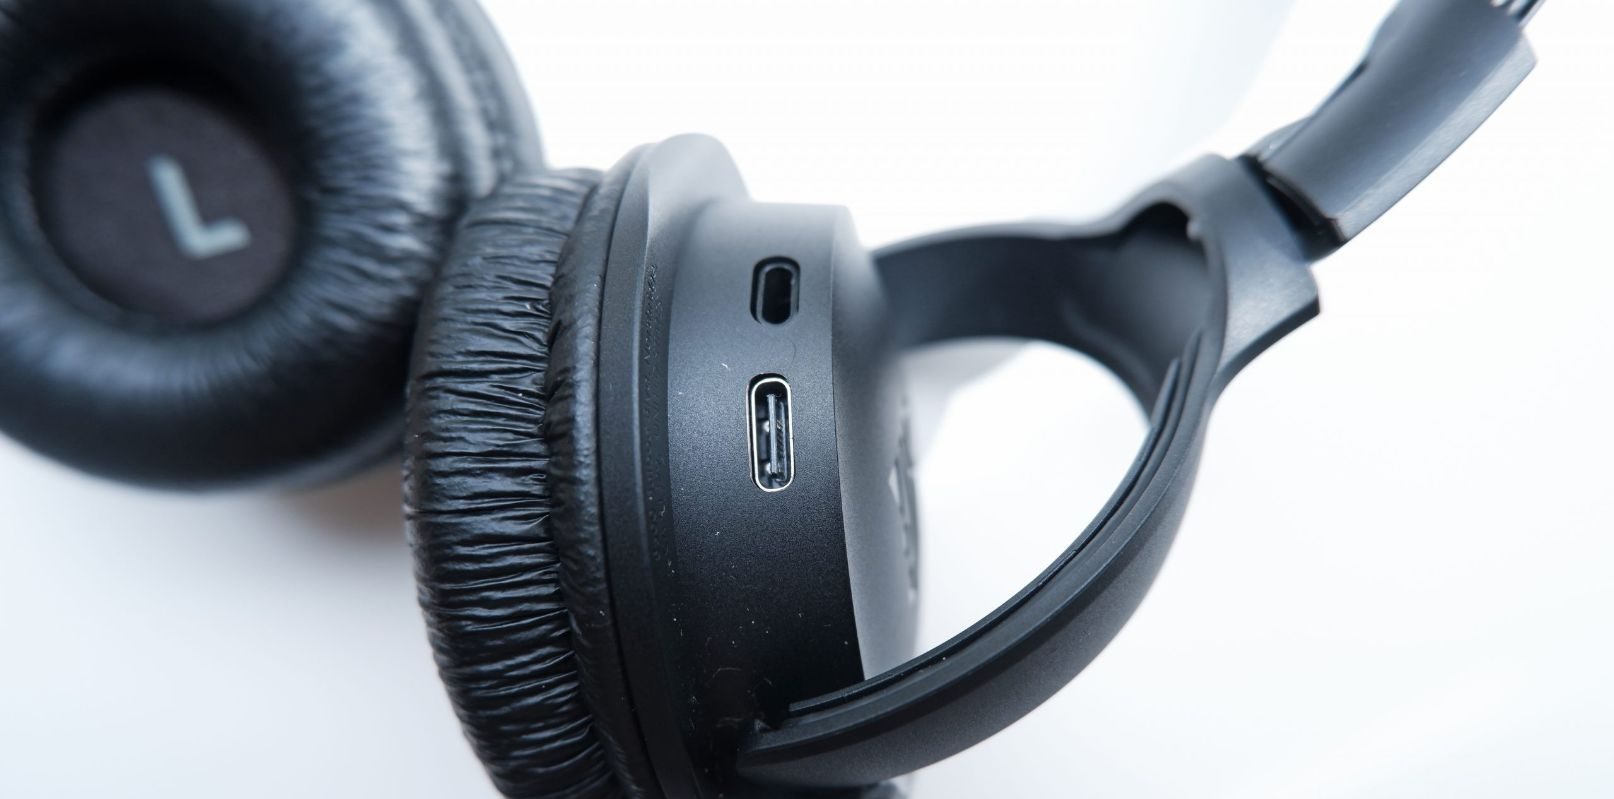
5. Clean the Charging Port
If charging troubles persist, consider cleaning the earbuds specifically the charging port. Debris or lint can accumulate over time and hinder the charging connection.
Use a small brush or compressed air to gently remove particles from the port.
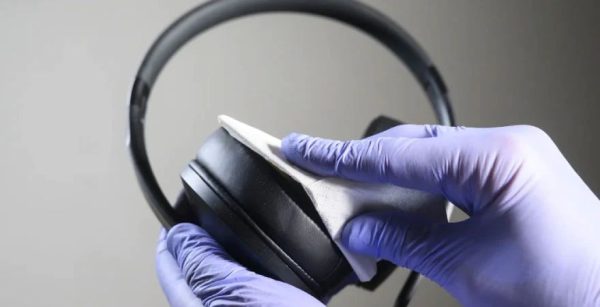
For a more detailed approach:
- Turn off your headphones and unplug any charging cables.
- Use a cotton swab to gently clean the charging port, removing dust and debris.
- Dampen another cotton swab slightly with rubbing alcohol and clean the port to disinfect and remove stubborn dirt.
- Allow the port to dry before attempting to charge your headphones again.
Regularly cleaning the charging port helps ensure a consistent and reliable charging connection.
6. Reset the Headphones
Resetting your JLab headphones can often resolve minor glitches that might be causing charging or functionality issues.
Here’s a step-by-step guide on how to perform a reset:
1. Refer to the User Manual:
Before attempting a reset, consult the user manual that came with your JLab headphones. Different models might have varying reset procedures, so it’s essential to follow the specific instructions provided by the manufacturer.
2. Locate the Reset Button or Combination:
Most wireless headphones have a reset button or a combination of buttons that need to be pressed to initiate a reset.
Commonly, the reset button is small and might be located on the headphones’ control panel or near the charging port.
If your headphones do not have a dedicated reset button, you might need to press and hold specific buttons for a set amount of time.
3. Perform the Reset:
Follow these general steps to perform a reset:
- Make sure your headphones are powered on.
- Locate the reset button or buttons as indicated in the user manual.
- Press and hold the reset button(s) as directed.
- Keep holding the button(s) for the specified duration, usually around 10-15 seconds.
- Release the button(s) when you see any indicators, such as lights flashing or the headphones powering off and on.
4. Observe the Results:
After performing the reset, observe whether there are any changes in the behavior of your headphones.
Sometimes, a reset can fix issues related to charging, connectivity, or performance.
5. Reconnect and Test:
If your headphones power off during the reset process, power them back on and attempt to connect them to your device.
Try charging them again to see if the issue has been resolved.
7. Update the Firmware
Updating your headphones’ firmware can resolve software-related charging problems. Ensure you have the latest firmware version installed:
Check for available firmware updates for your JLab headphones. If an update is available, follow the manufacturer’s instructions to install it.
Updating the firmware can address software glitches that may be affecting charging.
8. Replace the Battery
If other solutions fail, consider replacing the battery as a last resort:
- Identify the type of battery your JLab headphones use (usually rechargeable lithium-ion).
- Source a genuine replacement battery.
- Follow manufacturer instructions to replace the old battery with the new one, ensuring proper connections and alignment.
By following this structured progression of troubleshooting steps, you can effectively address charging issues with your JLab headphones and potentially restore their proper functionality.
FAQs
How Do I Know If My Jlab Headphones Are Not Charging?
To know if your JLab headphones are not charging, check if the LED indicator light doesn’t turn on when connected to a power source.
Also, ensure that the charging cable is securely plugged in, and try using a different USB port or charger.
Why Is It Important to Check the Charging Cable Before Troubleshooting Other Issues?
Before troubleshooting other issues with your JLab headphones not charging, it’s important to check the charging cable.
This step ensures that you’re using a functional and compatible cable, which could be the root cause of the problem.
Can I Use a Different Power Source to Charge My Jlab Headphones?
Yes, you can use a different power source to charge your JLab headphones.
Make sure the voltage and amperage output of the new power source are compatible with your headphones to avoid any damage.
How Often Should I Clean the Charging Port of My Jlab Headphones?
To keep your JLab headphones charging properly, it’s important to regularly clean the charging port.
Dust and debris can accumulate, causing connection issues. Gently wipe the port with a soft cloth or use compressed air to remove any buildup.
Is It Necessary to Update the Firmware of My Jlab Headphones Regularly?
It is necessary to update the firmware of your JLab headphones regularly.
This ensures that you have the latest software features and bug fixes, which can help improve charging performance and overall headphone functionality.
What to Do if Jlab Headphones Won’t Charge?
If your JLab headphones are not charging, try these steps: Use the correct cable and clean the charging port.
Test different power sources and cables. If available, press and hold the reset button. If the issue persists, contact JLab customer support for assistance.
How Do I Know if My Jlab Headphones Are Charging?
Check for charging indicators like LED lights changing color or blinking.
Refer to your headphone user manual for specific indicator details.
Also, observe your connected device; some show a charging icon when the headphones are connected to power.
How Do I Reset My Jlab Earphones?
To reset JLab earphones, turn them off, locate any reset button, and press it with a paperclip or pin for about 10-15 seconds.
Release the button, power on the earphones, and follow any re-pairing instructions in the user manual or contact JLab support for model-specific guidance.
Always refer to the manual for accurate instructions.

John Paul is a tech enthusiast dedicated to troubleshooting. He is passionate about fixing glitches, simplifying complexities, and empowering others in the digital realm.