Are you frustrated with a BMW F800GS battery not charging? Don’t fret! We’re here to provide the ultimate solution.
In this article, we’ll embark on a journey together, exploring a range of effective troubleshooting steps to tackle the BMW F800GS battery not charging issue.
Contents
- 1 Causes of BMW F800GS Battery Not Charging
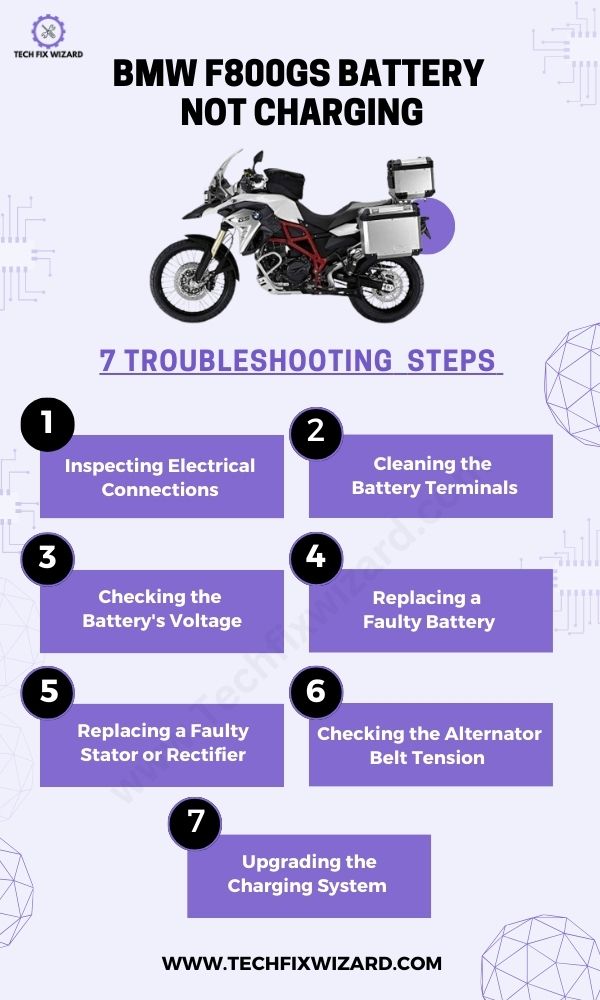
- 2 Troubleshooting BMW F800GS Battery Not Charging
- 3 1. Inspecting Electrical Connections
- 4 3. Checking the Battery’s Voltage
- 5 4. Replacing a Faulty Battery
- 6 5. Replacing a Faulty Stator or Rectifier
- 7 6. Checking the Alternator Belt Tension
- 8 7. Upgrading the Charging System
- 9 Preventative Measures to Avoid BMW F800GS Battery Not Charging Issue
- 10 FAQs
- 11 Why is my BMW F800GS battery not charging?
- 12 How can I determine if my BMW F800GS battery is not charging?
- 13 What should I do if my BMW F800GS battery is not charging?
- 14 Can a faulty alternator cause the battery not to charge?
- 15 How can I test the alternator on my BMW F800GS?
- 16 What other components should I check if the alternator is working fine?
- 17 Can a drained battery cause the charging issue?
- 18 What are some signs of a failing battery on a BMW F800GS?
- 19 How long should a BMW F800GS battery last?
- 20 Can a bad connection cause the battery not to charge?
- 21 Can extreme temperatures affect the charging system?
- 22 When should I seek professional help for a charging issue?
- 23 Official References & Resources
Causes of BMW F800GS Battery Not Charging
Several factors can contribute to a BMW F800GS battery not charging. Here are some common causes:
| No. | Cause | Description |
|---|---|---|
| 1. | Faulty alternator | The alternator fails to generate sufficient power to charge the battery due to a malfunction. |
| 2. | Worn-out alternator belt | A worn-out, loose, or damaged alternator belt results in inadequate power generation and charging. |
| 3. | Defective voltage regulator | The voltage regulator malfunctions, leading to overcharging or undercharging of the battery. |
| 4. | Faulty rectifier | A faulty rectifier disrupts the conversion of AC to DC, impacting battery charging. |
| 5. | Corroded or loose battery connections | Corrosion or loose connections at the battery terminals hinder the flow of electricity between the battery and the charging system. |
| 6. | Damaged wiring or connectors | Damage, fraying, or loose connections in the wiring harness or connectors associated with the charging system can interrupt the charging process. |
| 7. | Faulty battery | A degraded or defective battery may not hold a charge effectively, even with a functioning charging system. |
| 8. | Electrical system issues | Other electrical system problems, such as blown fuses, malfunctioning relays, or wiring faults elsewhere in the motorcycle, can indirectly affect the charging system’s performance. |
Troubleshooting BMW F800GS Battery Not Charging
When troubleshooting a BMW F800GS with a battery not charging issue, it is essential to follow a systematic approach to identify and resolve the problem.
The following are the recommended troubleshooting steps. Let’s get started!
1. Inspecting Electrical Connections
Inspecting your electrical connections is a crucial first step in troubleshooting a BMW F800GS battery not charging issue.
The electrical connections play a vital role in transmitting power from the battery to the various components of the motorcycle. Over time, these connections can become loose, corroded, or damaged, leading to charging problems.
Here are some steps you can take when inspecting your electrical connections:
| Step | Troubleshooting Steps |
|---|---|
| 1. | Check all visible wires for damage or fraying. Repair or replace any exposed wires. |
| 2. | Use a voltmeter to test each connection for voltage. Replace or repair any connection not produce electricity. |
| 3. | Ensure all connectors are clean and free from corrosion. Clean or replace corroded connectors. |
By keeping up with regular inspections of your electrical connections, you can help avoid any potential issues that may arise with your charging system. This simple maintenance task can save you time, money, and stress in the long run.
Similar Read: BMW R1200GS Not Charging – 5 Quick & Easy Steps To Follow
2. Cleaning the Battery Terminals
Cleaning your battery terminals is an important step in ensuring the proper function of your motorcycle’s electrical system.
Over time, dirt and corrosion can build up on the terminals, hindering the flow of electricity from the battery to the rest of your bike.
| Step | Steps to Clean Battery Terminals |
|---|---|
| 1. | Disconnect the negative cable from the battery. |
| 2. | Use a wire brush or sandpaper to remove the buildup on both the terminal and cable end. |
| 3. | Clean the terminal thoroughly until it appears shiny and free from corrosion. |
| 4. | Clean the cable end in the same manner, ensuring it is also free from corrosion. |
| 5. | Once cleaned, reattach the cable securely to the battery terminal. |
| 6. | Make sure the connection is tight to prevent any future issues. |
3. Checking the Battery’s Voltage
After ensuring that the battery terminals are clean and secure, the next step in diagnosing charging issues is to check the battery’s voltage.
This simple yet crucial test can provide valuable information about the battery’s health and charging status.
1. Preparation:
Start by turning off the engine and ensuring that all electrical components are switched off. This step ensures accurate voltage readings and avoids any potential safety hazards.
2. Access the Battery:
Locate the battery on your motorcycle. Depending on the model, the battery may be easily accessible or require some disassembly. Consult your motorcycle’s manual for specific instructions on accessing the battery.
3. Connect the Voltmeter:
Take a digital multimeter set to DC voltage and connect the positive (red) probe to the positive battery terminal and the negative (black) probe to the negative terminal.
Ensure a secure and stable connection between the probes and battery terminals.
4. Take the Voltage Reading:
With the voltmeter properly connected, observe the voltage reading displayed on the meter. A fully charged battery typically measures around 12.6 to 12.8 volts when the motorcycle is turned off.
This reading indicates that the battery has a sufficient charge.
5. Interpret the Voltage Reading:
Compare the voltage reading obtained with the expected range for a fully charged battery. If the voltage falls significantly below 12 volts, it indicates that the battery may be discharged and in need of recharging.
In such cases, you can try charging the battery using a compatible battery charger or consider replacing it if it no longer holds a charge effectively.
6. Consider Load Testing:
If you suspect that your battery may have internal issues or is unable to hold a charge properly, you may want to perform a load test.
Load testing involves applying a simulated electrical load to the battery while monitoring the voltage drop. This test helps assess the battery’s ability to deliver power under load and provides a more accurate evaluation of its condition.
Our Popular Posts:
- BMW Airhead Not Charging – 6 Troubleshooting Steps To Follow
- BMW R80 Not Charging – 9 Steps To Follow
4. Replacing a Faulty Battery
Replacing a faulty battery is a necessary step if the battery is no longer holding a charge effectively or exhibiting signs of failure. Here’s a step-by-step guide to replacing a faulty battery:
| Step | Description |
|---|---|
| 1. Ensure safety | Turn off the engine, remove the key from the ignition, and wear protective gloves and eyewear. |
| 2. Disconnect the battery | Loosen and remove the negative (black) battery terminal, followed by the positive (red) terminal. |
| 3. Remove the battery | Release any securing straps, brackets, or fasteners and carefully lift the battery out of its compartment. |
| 4. Dispose of the old battery | Take the old battery to a recycling center or facility that accepts used batteries for proper disposal. |
| 5. Choose a replacement battery | Select a new battery that matches the specifications and requirements of your motorcycle. |
| 6. Install the new battery | Place the new battery in the battery compartment and secure it with straps, brackets, or fasteners. |
| 7. Connect the battery | Attach the positive (red) battery terminal followed by the negative (black) terminal, and tighten the nuts. |
| 8. Perform a voltage check | Use a voltmeter to check the battery voltage and ensure it falls within the specified range for a full charge. |
| 9. Test the motorcycle | Start the engine and monitor the battery voltage and charging system performance for proper functionality. |
5. Replacing a Faulty Stator or Rectifier
Replacing a faulty stator or rectifier is necessary if they are identified as the source of charging issues in your motorcycle.
Before proceeding with the replacement, turn off the engine, remove the key from the ignition, and take necessary safety precautions like wearing protective gloves.
Before replacing any electrical components, disconnect the battery to prevent electrical shocks or short circuits. Start by disconnecting the negative (black) battery terminal, followed by the positive (red) terminal.
– Replacing the Stator
- Locate the stator: Typically, the stator is located on the engine side cover.
- Remove the old stator: If replacing the stator, begin by removing any necessary components, such as engine covers or protective plates, to access the stator. Disconnect the stator’s wiring harness from the motorcycle’s electrical system. Remove any mounting bolts or screws securing the stator in place and carefully extract the old stator.
- Install the new stator: Take the new stator and position it correctly in place of the old one. Secure it using the appropriate mounting bolts or screws. Reconnect the stator’s wiring harness to the motorcycle’s electrical system, ensuring proper connections.
– Replacing the Rectifier
- Locate the rectifier: The rectifier is located near the battery or within the electrical system.
- Remove the old rectifier: If replacing the rectifier, locate it and disconnect the wiring harness connected to it. Remove any mounting bolts or screws securing the rectifier in place and carefully remove the old rectifier.
- Install the new rectifier: Take the new rectifier and position it correctly in place of the old one. Secure it using the appropriate mounting bolts or screws. Reconnect the wiring harness to the new rectifier, ensuring proper connections.
- Reconnect the battery: Once the new stator or rectifier is installed, reconnect the battery. Start by connecting the positive (red) battery terminal, followed by the negative (black) terminal. Ensure the connections are secure and tightened properly.
Test the motorcycle by starting the engine and observe if the charging system is functioning properly.
6. Checking the Alternator Belt Tension
Checking the alternator belt tension is an important step in the process. A loose or worn-out alternator belt can lead to insufficient power generation, resulting in a battery not receiving a proper charge.
Before beginning any work, turn off the engine, remove the key from the ignition, and ensure the motorcycle is in a stable position.
Refer to your motorcycle’s service manual to find the location of the alternator. It is typically located near the engine, attached to a bracket or housing.
- Visual inspection: Check the alternator belt for damage.
- Tension check: Use gauge or thumb pressure to assess belt tension.
- Adjust tension: Locate the adjustment mechanism, loosen it, and adjust as needed.
- Alignment inspection: Ensure proper alignment of pulleys.
- Secure adjustment: Tighten the locking nut or bolt.
- Recheck tension: Verify belt tension is within the recommended range.

You Might Also Like: BMW R100 Not Charging – 6 Easy & Quick Steps To Try
7. Upgrading the Charging System
Upgrading the charging system on your motorcycle can resolve the BMW F800GS battery not charging issues. Here are the reasons why an upgrade might be just what you need:
| Benefit | Description |
|---|---|
| 1. Increased charging capacity | Upgrading the charging system provides a higher charging capacity, suitable for powering additional electrical accessories or modifications. |
| 2. Advanced charging technology | Upgrading to advanced technology, such as a smart charger or voltage regulator, optimizes the charging process and prevents overcharging or undercharging. |
| 3. Improved reliability | Upgrading ensures consistent and reliable charging, preventing intermittent charging or system failure that can occur with older charging systems. |
| 4. Enhanced durability | Upgrading to a more durable and weather-resistant charging system withstands environmental factors like moisture, vibrations, and temperature fluctuations. |
However, battery not charging issues can be resolved by upgrading your charging system but it is also dependent on the specific cause of the problem.
Several factors can contribute to a battery not charging, and it’s important to identify the root cause before considering an upgrade.
Preventative Measures to Avoid BMW F800GS Battery Not Charging Issue
Now that you’ve upgraded your charging system, it’s important to keep it in good condition. Preventative maintenance can help avoid potential issues with the battery not charging.
Here are some tips to keep in mind:
- Firstly, regularly check and clean the connections between the battery and the charging system. This includes both positive and negative terminals. Corrosion buildup can obstruct the flow of electricity, so cleaning them will ensure proper contact and improve efficiency.
- Secondly, make sure to maintain proper fluid levels in your battery. Low levels can lead to sulfation – a process where sulfate crystals form on the plates inside the battery, reducing its capacity and lifespan. Keep an eye on fluid levels and top off as needed with distilled water.
- Lastly, consider using a battery tender or maintainer when storing your bike for extended periods. These devices provide a gentle charge to the battery over time, keeping it at optimal voltage without overcharging or damaging it.
By following these preventative maintenance tips, you’ll be able to prolong the life of your charging system and avoid any potential issues with your BMW F800GS battery not charging properly.
You Might Also Like: BMW R65 Battery Not Charging – 7 Troubleshooting Steps
FAQs
Why is my BMW F800GS battery not charging?
There could be several reasons for this issue, including a faulty alternator, a broken charging system component, a loose or damaged connection, or a drained battery.
How can I determine if my BMW F800GS battery is not charging?
You can check the battery voltage using a multimeter. If the voltage remains low even after running the motorcycle for some time, it indicates that the battery is not charging properly.
What should I do if my BMW F800GS battery is not charging?
First, check the battery connections to ensure they are tight and secure. If the connections are fine, then you may need to inspect the charging system components, such as the alternator and voltage regulator, for any signs of damage or malfunction.
Can a faulty alternator cause the battery not to charge?
Yes, a faulty alternator can prevent the battery from charging. The alternator is responsible for generating electricity and recharging the battery while the motorcycle is running.
If it is not functioning correctly, the battery will not receive sufficient charge.
How can I test the alternator on my BMW F800GS?
To test the alternator, you can use a voltmeter to measure the voltage across the battery terminals while the motorcycle is running. The voltage should increase as you rev the engine. If the voltage remains the same or drops, it indicates a problem with the alternator.
What other components should I check if the alternator is working fine?
If the alternator is functioning properly, you should inspect the voltage regulator, which regulates the charging voltage. Additionally, check the wiring and connectors for any signs of damage or loose connections.
Can a drained battery cause the charging issue?
Yes, if the battery is completely drained, it may not accept a charge. In such cases, you may need to jump-start the motorcycle or charge the battery using an external charger before testing the charging system.
What are some signs of a failing battery on a BMW F800GS?
Some signs of a failing battery include difficulty starting the motorcycle, dim or flickering lights, and a battery that does not hold a charge for long.
How long should a BMW F800GS battery last?
The lifespan of a battery can vary depending on factors such as usage, maintenance, and environmental conditions. Generally, a motorcycle battery can last anywhere from two to five years.
Can a bad connection cause the battery not to charge?
Yes, a loose or corroded connection between the battery, alternator, or voltage regulator can disrupt the charging process and prevent the battery from charging properly.
Can extreme temperatures affect the charging system?
Yes, extreme temperatures can have an impact on the charging system. Extremely high temperatures can cause the battery to lose capacity, while very cold temperatures can make it difficult for the battery to accept a charge.
When should I seek professional help for a charging issue?
If you have checked the battery, connections, and charging system components but still cannot identify or resolve the issue, it is recommended to seek professional assistance.
A qualified mechanic with experience in BMW motorcycles will be able to diagnose and repair the problem more effectively.
Official References & Resources
Our research for accurate information about BMW involved a thorough analysis of official resources, including the official BMW website owner’s manuals, technical specifications, and relevant support forums.
Our research and data gathering involved thorough analysis of the official websites, including:

John Paul is a tech enthusiast dedicated to troubleshooting. He is passionate about fixing glitches, simplifying complexities, and empowering others in the digital realm.