Are you having trouble with your Tesla not connecting to Wi-Fi? It can be frustrating when something as basic as connecting to the internet isn’t working correctly.
The possible causes of Tesla’s Wi-Fi malfunction may include problems with the limited access range, outdated software, performance lack, or soft glitches.
To address this issue, changing location, resetting the system, utilizing a Wi-Fi extender, updating the software, and rebooting Tesla’s software can be effective solutions.
In this blog post, we will dig into the potential causes of connection issues with a Tesla vehicle and provide some useful tips for finding a solution.
Contents
- 1 How to Connect Tesla to a Wi-Fi Network
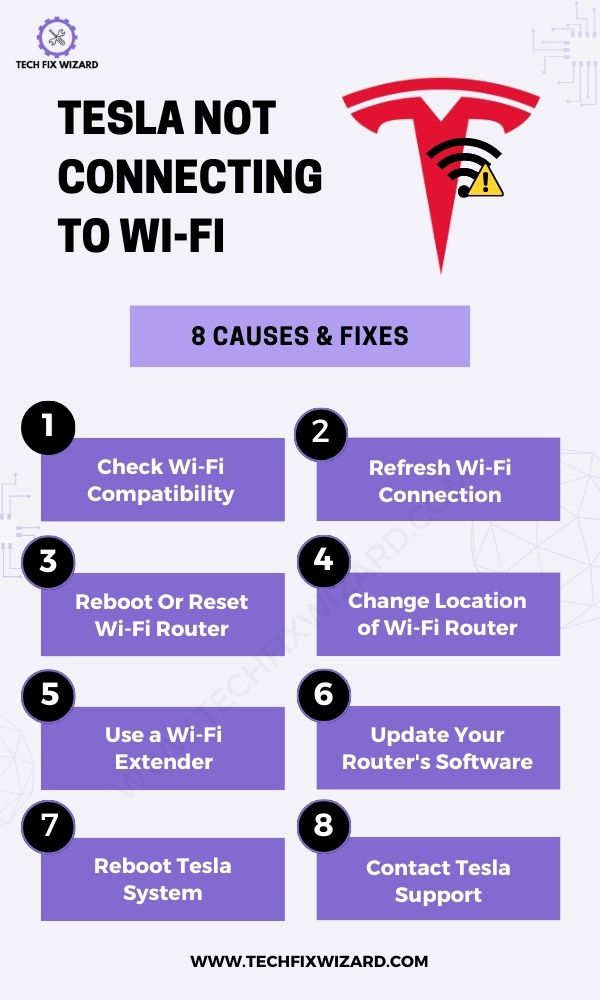
- 2 Tesla Not Connecting to Wi-Fi – 8 Causes & Fixes
- 2.1 1. Check the Wi-Fi Compatibility:
- 2.2 2. Refresh Wi-Fi connection:
- 2.3 3. Reboot Or Reset the Wi-Fi Router:
- 2.4 4. Change the Location of the Wi-Fi Router:
- 2.5 5. Use a Wi-Fi Extender:
- 2.6 6. Update Your Router’s Software:
- 2.7 7. Reboot Tesla System:
- 2.8 1. Touchscreen Reboot:
- 2.9 2. Soft Reset Reboot:
- 2.10 3. Hard-Reset:
- 2.11 8. Contact Tesla Support Services:
- 3 Conclusion
- 4 FAQs
- 5 1. How do I fix the slow speed of my Wi-Fi network on Tesla?
- 6 2. How do I forget and reconnect the Wi-Fi network on my Tesla?
- 7 3. How do I change the Wi-Fi on my Tesla?
How to Connect Tesla to a Wi-Fi Network
Connecting Tesla to a Wi-Fi network is a simple procedure. Follow these three steps below.
- Touch the Control panel on the Tesla’s control console.
- Select the Wi-Fi network and choose the network you want to use.
- Type Password. Sometimes it can take up to 30 seconds to connect to the network.
- The Wi-Fi would be connected.
Tesla Not Connecting to Wi-Fi – 8 Causes & Fixes
Read on for helpful tips about fixing issues with Wi-Fi connection in Tesla automobiles. You’ll learn valuable information on why it might be happening and how best to get connected again quickly and easily!
1. Check the Wi-Fi Compatibility:
Ensure your internet provider is compatible with Tesla and has these two properties.
- The network should be 2.4GHz Wi-Fi.
- The Security must be WPA or WPA2 or no security.
Here are the steps on how to check your Wi-Fi router if it works on 2.4GHz:
| Steps | Information |
|---|---|
| 1 | Open a web browser on your device connected to Wi-Fi. |
| 2 | Type in your router’s IP address in the address bar. You can usually find this information in the router’s user manual or at the bottom of the router itself. |
| 3 | Enter your username and password when prompted. |
| 4 | Look for Wi-Fi settings in the router’s interface. |
| 5 | Find the “Wireless Mode” or “Network Mode” option. |
| 6 | Select “2.4GHz” from your router’s options. |
| 7 | Save your changes and wait for the router to restart. |
| 8 | Reconnect to your Wi-Fi network on your device to ensure it is now using the 2.4GHz frequency band. |
Follow the steps on how to check your Wi-Fi router’s security protocol:
| Steps | Information |
|---|---|
| 1 | Open a web browser on a device connected to the Wi-Fi network. |
| 2 | Type in the IP address of your router in the address bar. |
| 3 | Enter your username and password when prompted. |
| 4 | Look for Wi-Fi settings in the router’s interface. |
| 5 | Check for an option called “Wireless Security,” “Security Mode,” or “Encryption.” |
| 6 | If “WPA” or “WPA2” is available, select “WPA2“. |
| 7 | If your devices do not support WPA2, select “WPA” or another security protocol. |
| 8 | Enter a strong and unique passphrase for the Wi-Fi network. |
| 9 | Save your changes and wait for the router to restart. |
| 10 | Reconnect to your Wi-Fi network from your devices using the new security passphrase. |
2. Refresh Wi-Fi connection:
In some cases, the issue lies with the phone or the network. Look below to ensure that your phone or network is not acting up. An easy-to-follow tip is to refresh the network connection.
- Go to Wi-Fi Settings.
- Select the Forget option to remove the network from the list of connected devices.
- Now try reconnecting by clicking on the Wi-Fi and typing the password.
3. Reboot Or Reset the Wi-Fi Router:
When the router is working for a long time, it can experience a lack of speed and connectivity issues. It happens due to soft glitches and errors. Simply turn it off and on. It would also help in getting rid of any performance lack.
Sometimes it is better to do a factory reset. Bear in mind that doing so would eliminate any personalized settings and data stored in the device’s memory. Only do that when merely restarting doesn’t work.
Here are the steps on how to reset your Wi-Fi router:
| Steps | Information |
|---|---|
| Locate the reset button on the router. | The reset button is usually a small hole on the back or bottom of the device. |
| Use a paperclip or a similar object to press and hold the reset button. | Hold the button for about 10-15 seconds. |
| Continue holding the reset button until the router’s lights start flashing. | Alternatively, wait until the router restarts. |
| Once the router has restarted, it will have been reset to its factory defaults. | This means all previous settings will be erased. |
| Reconfigure the router’s settings, such as the Wi-Fi name and password. | You will need to set up your router again, including creating a new Wi-Fi name and password. Follow the manufacturer’s instructions. |
4. Change the Location of the Wi-Fi Router:
It could be that your router is just too far away or in a tricky spot. But don’t worry, there’s a simple solution! You can bring the router closer to your car, which will not only give you a stronger connection but also speed up your network.
The best place to put your router to improve your Wi-Fi signal is in a central location, away from obstructions and sources of interference such as walls, furniture, and electronics
5. Use a Wi-Fi Extender:
An easier method than changing the location of the Wi-Fi is to get a Wi-Fi extender. It helps in transmitting the signals. This way you don’t have to move the whole router.
When selecting a Wi-Fi router for your home or office, there are several factors to consider. Knowing how to choose the right Wi-Fi extender would help in optimizing your network.
| Considerations | How To Choose |
|---|---|
| Compatibility | Check the Wi-Fi standard and frequency band supported by your Tesla car’s onboard Wi-Fi system and choose an extender that is compatible. |
| Range | Consider the distance between your car and the router, and choose an extender with enough range to reach your car’s location. |
| Speed | Choose an extender with a speed rating that matches or exceeds your current Wi-Fi speeds, to avoid any degradation in performance. |
| Number of devices | If you plan to connect multiple devices to the extender, choose one with sufficient bandwidth to support all your devices. |
| Features | Consider features such as easy setup, parental controls, and built-in Ethernet ports, and choose an extender that suits your needs. |

6. Update Your Router’s Software:
Your Tesla’s inability to locate Wi-Fi might be due to outdated home Wi-Fi equipment. It is advisable to download and install any new updates as soon as possible.
To upgrade your Wi-Fi router, follow the steps below:
| Steps | Information |
|---|---|
| 1 | Type your router’s IP address into the search bar of any web browser. You can find the IP address on the side, back, or bottom of your router. |
| 2 | Type your username and password. |
| 3 | Go either to the Advanced Administration or Management section and locate the update firmware option. It depends on the model and the brand of your router. |
| 4 | Go to your router’s manufacturer’s site. Search your model number and find updated files. |
| 5 | Download the firmware update file. It would be a ZIP file, which is a compressed file that contains one or more files. |
| 6 | Since the file is in a zip folder. Then extract the file and move it to your desktop. |
| 7 | Click Choose File or Browse and select the router update files. |
| 8 | The update would start automatically or press the update option. |
| 9 | Wait for the update to finish. It can take a few minutes. Don’t turn off the router or unplug it. |
| 10 | Reboot the router once the updates are installed. |

7. Reboot Tesla System:
If updating doesn’t work. Perform a reboot of the Tesla. It helps get rid of any soft glitches or unattended errors. There are 3 ways to reboot your system. It’s important to know that these reboots should be performed when Tesla is parked.
1. Touchscreen Reboot:
It’s the simplest way to reboot the system. Follow the instructions below. Press and hold the scroll wheel buttons on the steering wheel for 10 seconds until the home screen displays the Tesla Logo.
2. Soft Reset Reboot:
Press and hold the brake pedal, then simultaneously hold down the scroll wheels for 10 seconds. Once the main screen turns off, release the buttons and wait for the Tesla logo to appear, indicating that the reboot is complete.
3. Hard-Reset:
This would return the Tesla to its default settings.
- Open the hood of the car.
- Remove the covering of the battery and detach the power cable from the battery terminal.
- After 10 seconds, reattach the cable once again.
This would reset to its default settings. For visual instructions see the Video below.
8. Contact Tesla Support Services:
If you’re still grappling with car issues after attempting to DIY the fix, it may be time to call in reinforcement from the pros. And there’s no one better for the job than the auto experts at Tesla Support.
Simply schedule an appointment and let the technicians work their magic on your vehicle. Leave your worries behind and let Tesla do the heavy lifting for you.
Conclusion
All in all, the issue of your Tesla not connecting to Wi-Fi can be frustrating, but solvable if you follow the right steps. With a limited access range, outdated software, or some soft glitches causing this issue.
Troubleshooting solutions such as changing the location, resetting the system, utilizing a Wi-Fi extender, updating the software, and rebooting Tesla’s software are essential in resolving it.
So if you have issues with your Tesla not connecting to Wi-Fi, consider these potential solutions. Don’t let inadequate connection keep you from tapping into the richness today’s modern technology has to offer!
FAQs
1. How do I fix the slow speed of my Wi-Fi network on Tesla?
There are many ways that can help you fix the slow speed of your Wi-Fi network. Bringing your vehicle closer to the router to improve the signal strength.
Relocating the router closer to your car enhances signal strength and reduces interference. Or simply waiting until the traffic on the network becomes less congested.
2. How do I forget and reconnect the Wi-Fi network on my Tesla?
Simply find the Wi-Fi network name, bid it farewell with a tap on “Forget Network”, and then let your vehicle rediscover it on the list of available networks. Stay connected and enjoy your ride!
3. How do I change the Wi-Fi on my Tesla?
To change the Wi-Fi connection for your Tesla vehicle, you can follow these steps:
- Open the Tesla mobile app on your smartphone or tablet.
- Navigate to your home energy site by tapping on it.
- Tap on the ‘Customize’ option.
- Scroll down to the bottom of the screen and select ‘Configure Wi-Fi.’
- Follow the on-screen instructions to enter the new Wi-Fi network’s SSID and password.
- Once you’ve entered the new Wi-Fi network details, tap ‘Save’ to complete the setup process.
By following these steps, you can change the Wi-Fi connection for your Tesla vehicle, which will allow you to access features like over-the-air software updates and remote control of your vehicle through the mobile app

John Paul is a tech enthusiast dedicated to troubleshooting. He is passionate about fixing glitches, simplifying complexities, and empowering others in the digital realm.